STUCKFIX
handymanDIY Friendly
build

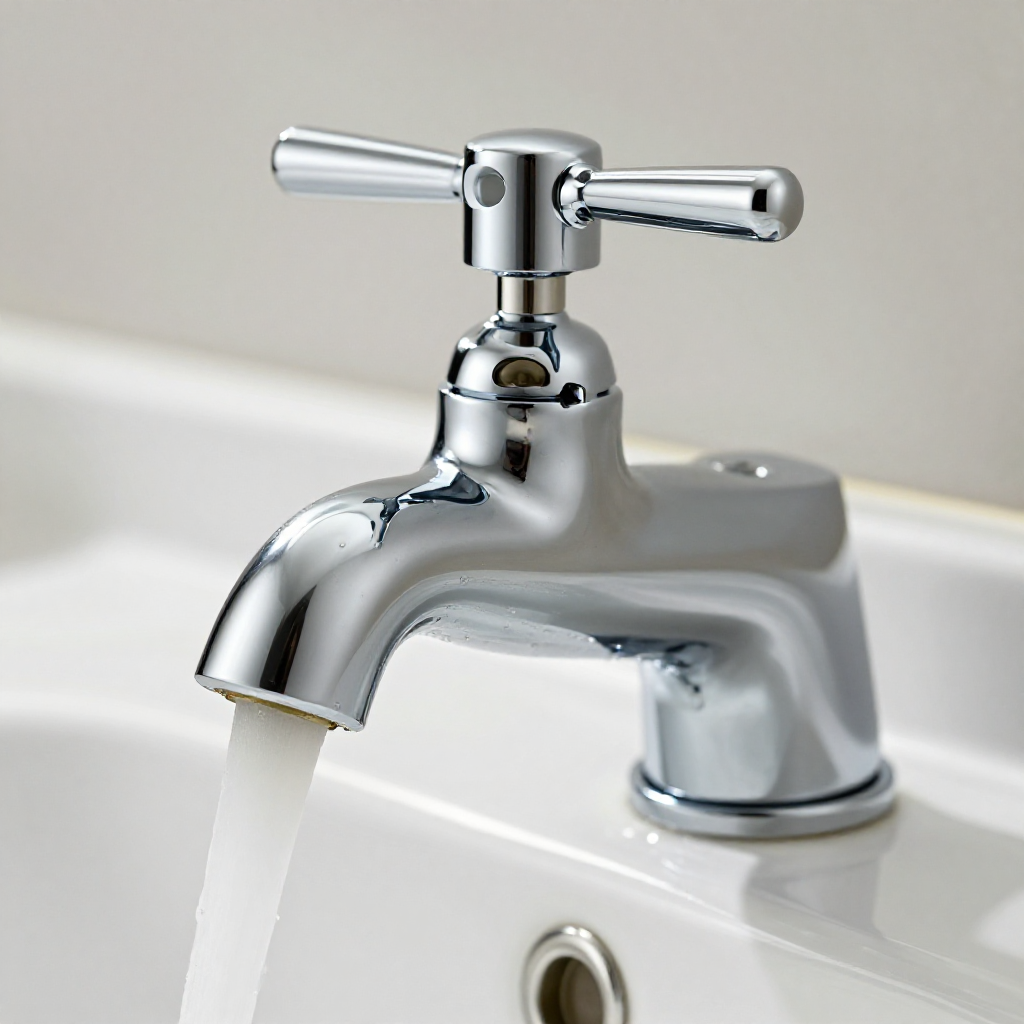
Why Is My Kitchen Faucet Spraying Water from the Handle Base?

Water spraying from the handle base usually means a worn O-ring or loose cartridge. Fix it with simple DIY steps.

Category:Plumbing
Difficulty:Moderate
Time:30 min
Success:50%
Updated:Jul 19, 2026

quick_referenceQuick Answer

For Why Is My Kitchen Faucet Spraying Water from the Handle Base?, start with "Turn Off Water Supply and Remove the Handle": Locate the shutoff valves under the sink and turn them clockwise to close. Remove the decorative cap on the handle (if present) with a flathead screwdriver, then unscrew the handle screw and lift the handle off. Stop DIY if the faucet body is cracked or corroded. This is listed as a moderate recovery and usually takes about 30 min.

verifiedGuide Snapshot

Repair areaPlumbing
Estimated time30 min
DifficultyModerate
Stop conditions3

Last updated Jul 19, 2026. Review the stop conditions before continuing.

account_treeRecovery State

Current stateLeak
Specific stateHandle Leak
Failed stepO Ring Wear At Handle Base
Likely failure typeWorn Part
DIY boundaryDIY recovery first
paymentsCost decision

help1. Understand the Problem

When water leaks from the base of the faucet handle, the most common culprits are a deteriorated O-ring or a loose retaining nut inside the handle assembly. Over time, mineral buildup and normal wear can cause seals to fail. This issue is often repairable without removing the entire faucet.

build_circle2. Try This First
Best First Step
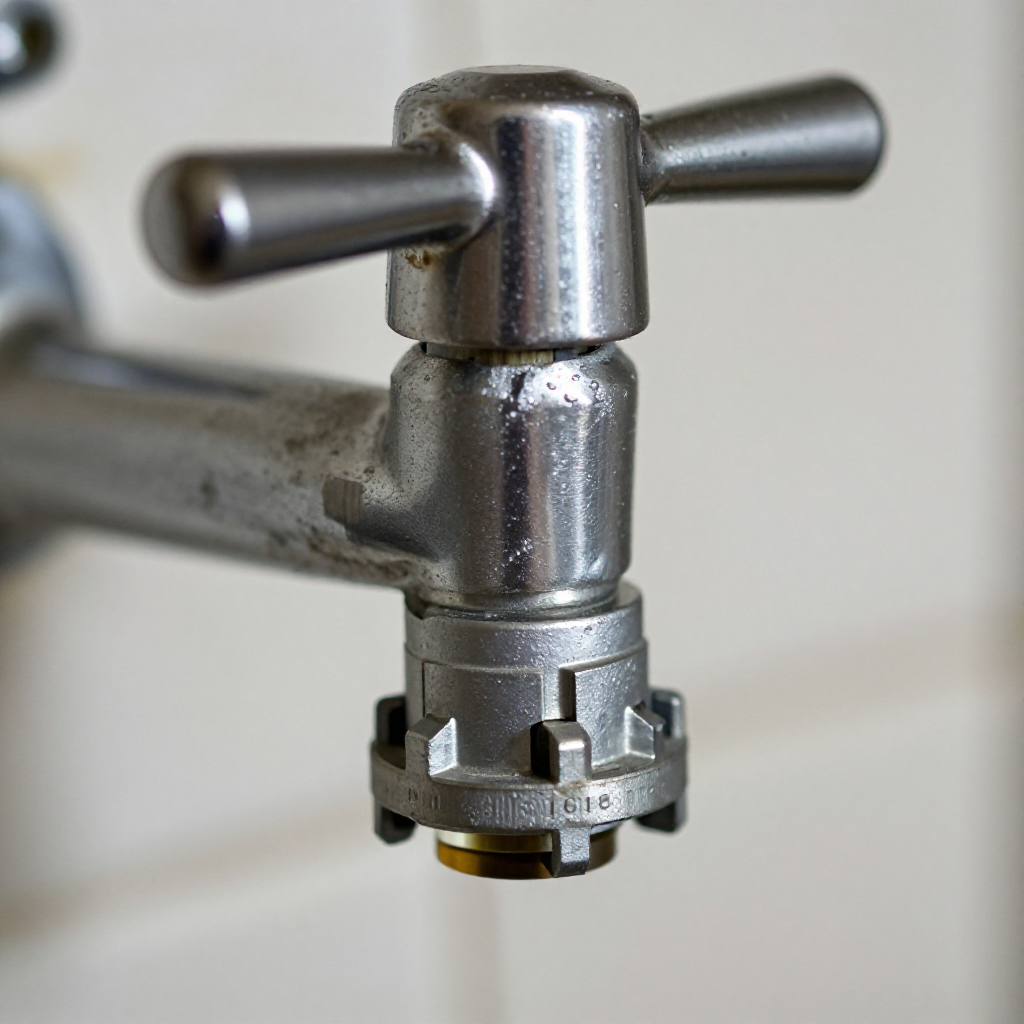
Turn Off Water Supply and Remove the Handle

Turn Off Water Supply and Remove the Handle

Locate the shutoff valves under the sink and turn them clockwise to close. Remove the decorative cap on the handle (if present) with a flathead screwdriver, then unscrew the handle screw and lift the handle off.

visibility3. Visual Guidance

See what's happening and how to try the first recovery step.
1
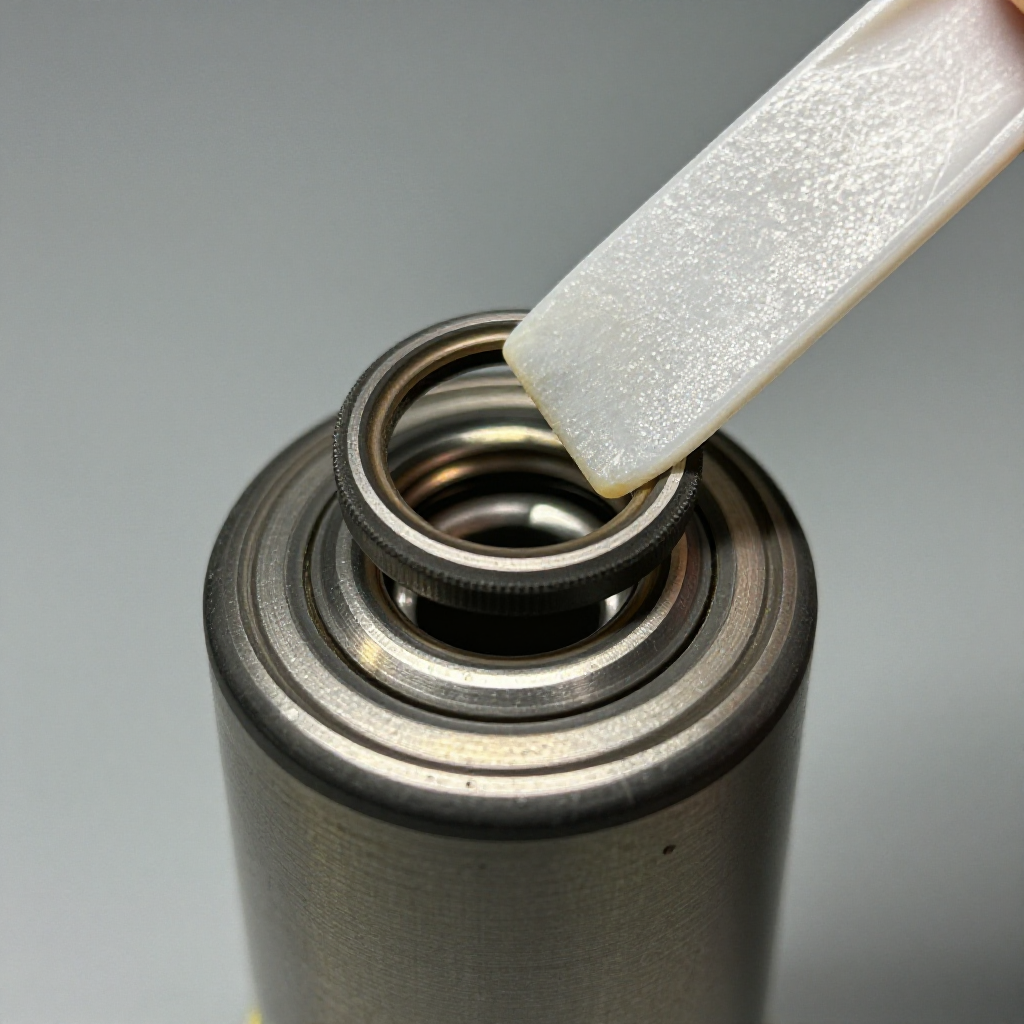
Step 1: Inspect and Remove the Old O-Ring
Inspect and Remove the Old O-RingWith the handle removed, locate the O-ring around the cartridge or valve stem. Use a small pick or screwdriver to carefully pry it off. Note its position and size for replacement.
2
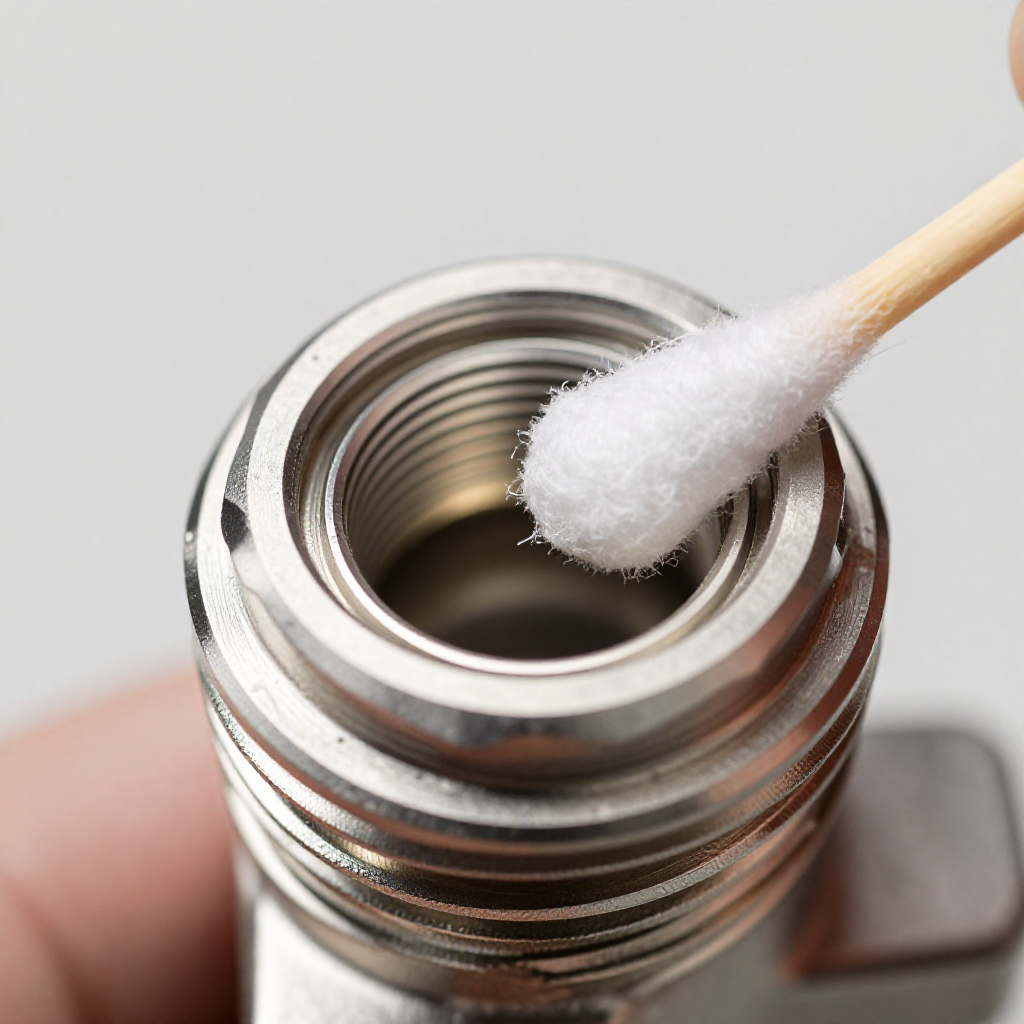
Step 2: Clean the O-Ring Groove
Clean the O-Ring GrooveWipe the groove with a clean cloth to remove any mineral deposits or old grease. Use a small brush if needed to ensure a smooth surface for the new seal.
3
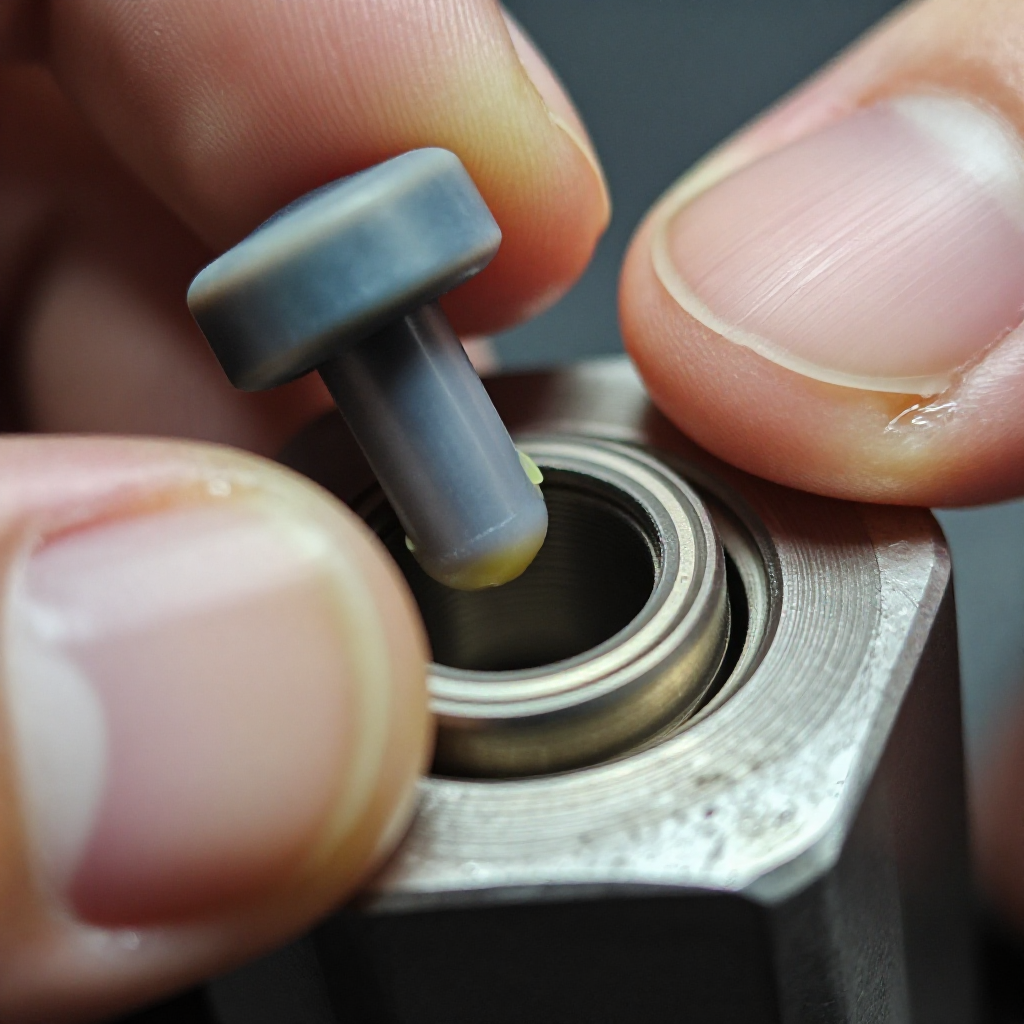
Step 3: Install the New O-Ring
Install the New O-RingApply a thin layer of silicone plumber's grease to the new O-ring, then press it into the groove evenly. Make sure it sits flush and is not twisted.
4
Step 4: Reassemble the Handle and Test
Reassemble the Handle and TestSlide the handle back onto the cartridge, tighten the retaining screw, and replace the decorative cap. Turn the water supply back on and test for leaks.

autorenew4. If That Doesn't Work

Try the next recovery options.

Tighten the Handle Retaining NutUse a basin wrench or Allen key to gently tighten the nut under the handle. This may stop the leak if the nut was simply loose.
chevron_right

Frequently Asked Questions

Do I need to replace the entire faucet cartridge too?expand_more
Not usually. If only the O-ring is worn, replacing just the O-ring will fix the leak. However, if the cartridge itself is cracked or corroded, it may need replacement.
What type of grease should I use on the O-ring?expand_more
Use 100% silicone plumber's grease. Do not use petroleum-based grease, as it can damage rubber seals.
Can I fix this without turning off the water?expand_more
No, you must turn off the water supply under the sink to avoid flooding and injury when removing the handle.
How do I find the correct replacement O-ring size?expand_more
Bring the old O-ring to a hardware store to match it, or check your faucet brand/model online. Many faucets use standard sizes like 1/4-inch or 5/16-inch inner diameter.

warning5. Stop DIY If

Don't continue if any of these apply.

reportThe faucet body is cracked or corroded
reportThe cartridge is seized and cannot be removed with normal force
reportWater continues to leak after replacing the O-ring and reassembling
Still stuck?Get personalized help with AI Recovery.

Related Recovery Problems

View all arrow_forward

Same Device Recovery States

Device index arrow_forward

Similar Failure Pattern

This page provides general DIY guidance.
If you're unsure, it's always best to consult a professional.