STUCKFIX
handymanDIY Friendly
microwave

Electric Wall Oven Not Heating

If your electric wall oven is turning on but not heating, the bake element is the most common culprit. Here's how to diagnose it in under 30 minutes.

Category:Kitchen
Difficulty:Moderate
Time:30 min
Success:50%
Updated:May 26, 2026

quick_referenceQuick Answer

For Electric Wall Oven Not Heating, start with "Inspect the bake element for visible damage before ordering parts": Open the oven door and look at the bottom heating element (the bake element). Pull out the racks to get a clear view. A failed element usually shows visible signs: blisters, holes, or a burned spot where the coil has failed. If you see any discontinuity in the coil or dark patches that don't match the rest of the element, that's your culprit. Turn the oven on to 350°F and watch the element through the door — it should glow evenly within 2 minutes. If it glows but doesn't get hot, it's still failing. Stop DIY if if the oven is hardwired (not plugged in) and you're not comfortable working with 240v wiring, call an electrician or appliance tech instead. This is listed as a moderate recovery and usually takes about 30 min.

verifiedGuide Snapshot

Repair areaKitchen
Estimated time30 min
DifficultyModerate
Stop conditions3

Last updated May 26, 2026. Review the stop conditions before continuing.

account_treeRecovery State

DeviceGas Oven
Current stateNot Heating
Specific stateBake Element Failed
Failed stepPreheat Cycle
Likely failure typeWorn Part
DIY boundaryDIY recovery first
paymentsCost decision

help1. Understand the Problem

An electric wall oven that runs but produces no heat almost always has a failed bake element. The bake element is the long heating coil at the bottom of the oven interior — it glows orange when working. When it fails, the oven will light up (the control panel works, the fan may run, the display shows the set temperature) but the interior stays cold. Other possible causes are the thermal fuse, the oven temperature sensor, or the control board — but the bake element accounts for 90% of no-heat failures in electric ovens.

build_circle2. Try This First
Best First Step
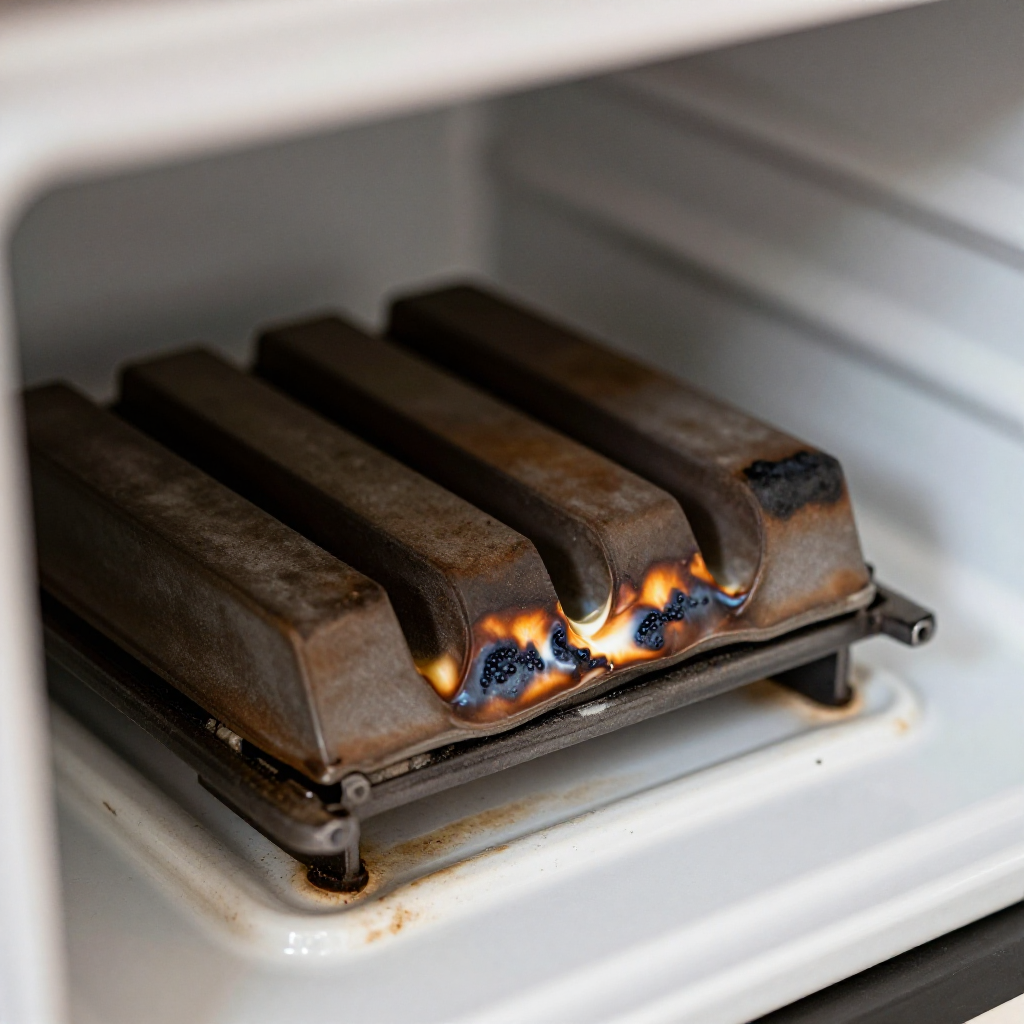
Inspect the bake element for visible damage before ordering parts

Inspect the bake element for visible damage before ordering parts

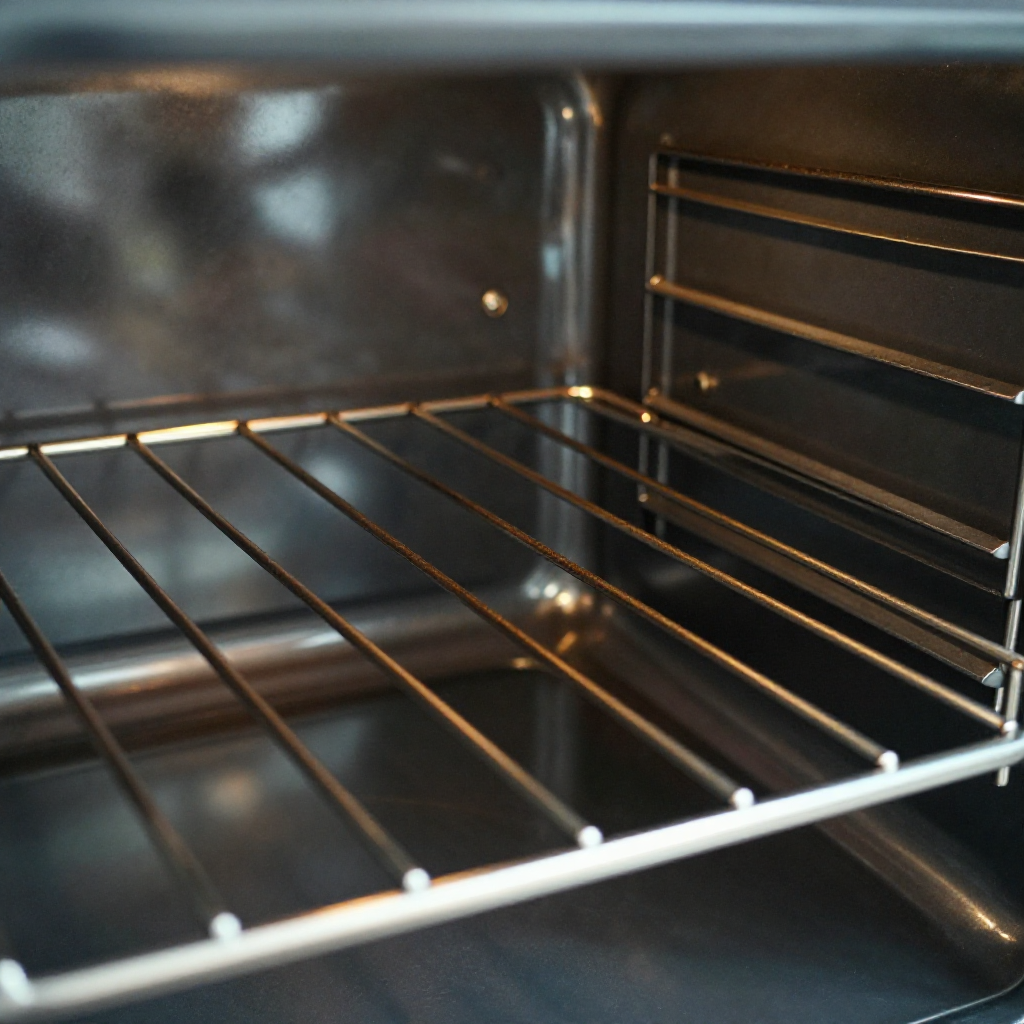
Open the oven door and look at the bottom heating element (the bake element). Pull out the racks to get a clear view. A failed element usually shows visible signs: blisters, holes, or a burned spot where the coil has failed. If you see any discontinuity in the coil or dark patches that don't match the rest of the element, that's your culprit. Turn the oven on to 350°F and watch the element through the door — it should glow evenly within 2 minutes. If it glows but doesn't get hot, it's still failing.

visibility3. Visual Guidance

See what's happening and how to try the first recovery step.
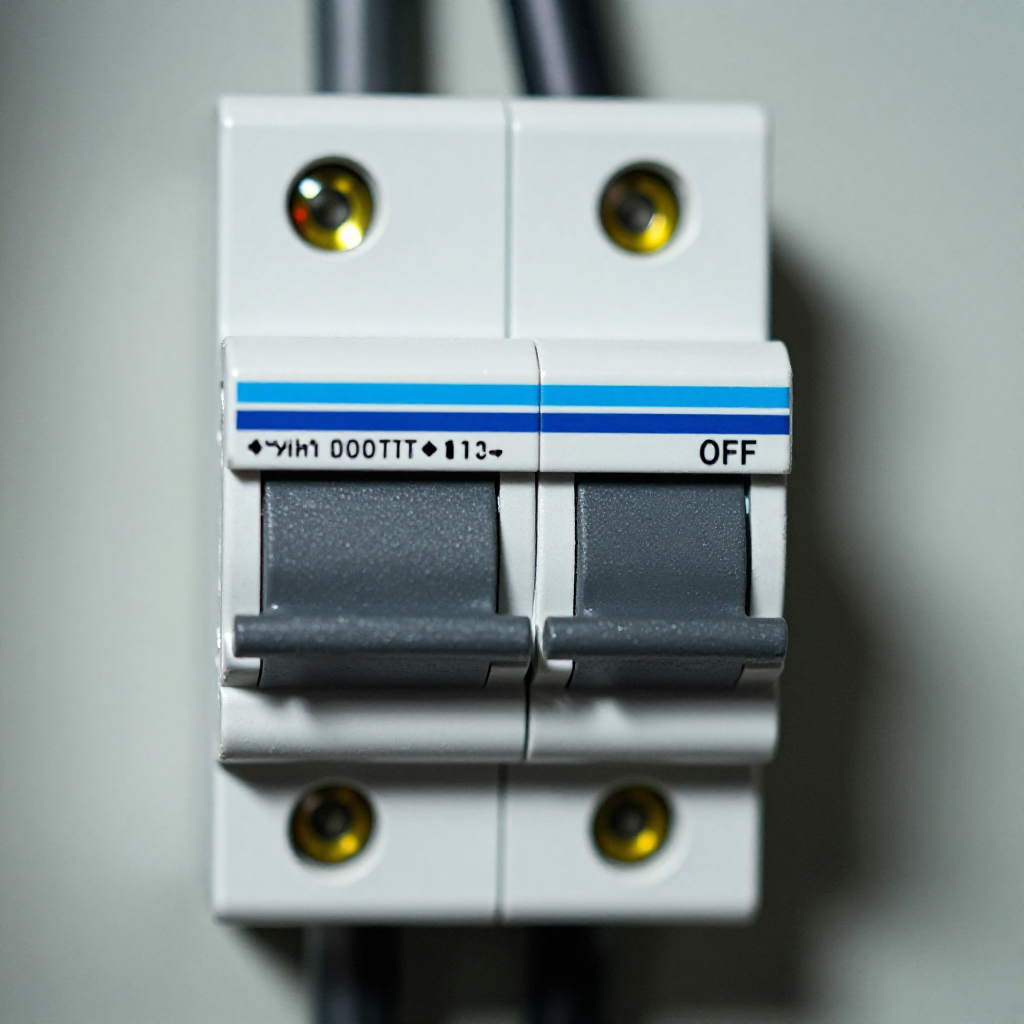
1
Turn off power to the oven at the circuit breaker
Turn off power to the oven at the circuit breakerGo to your electrical panel and find the breaker for the oven (usually a 40-50 amp double-pole breaker). Switch it OFF. Confirm power is off by trying to turn the oven on — the display should be dead. Do not skip this step. Ovens run on 240V, which can kill you. Never work on a live oven. Verify with a voltage tester at the outlet before touching any wires.
2
Remove the oven racks to access the bake element
Remove the oven racks to access the bake elementPull the oven racks out by sliding them straight out — they lift off the rails. Set them aside. The bake element sits at the bottom of the oven cavity, suspended by two mounting screws on the back wall. The element's terminal ends protrude through the back wall into an access panel. You don't need to remove the oven door for this repair.
3
Disconnect the failed element and note the part number
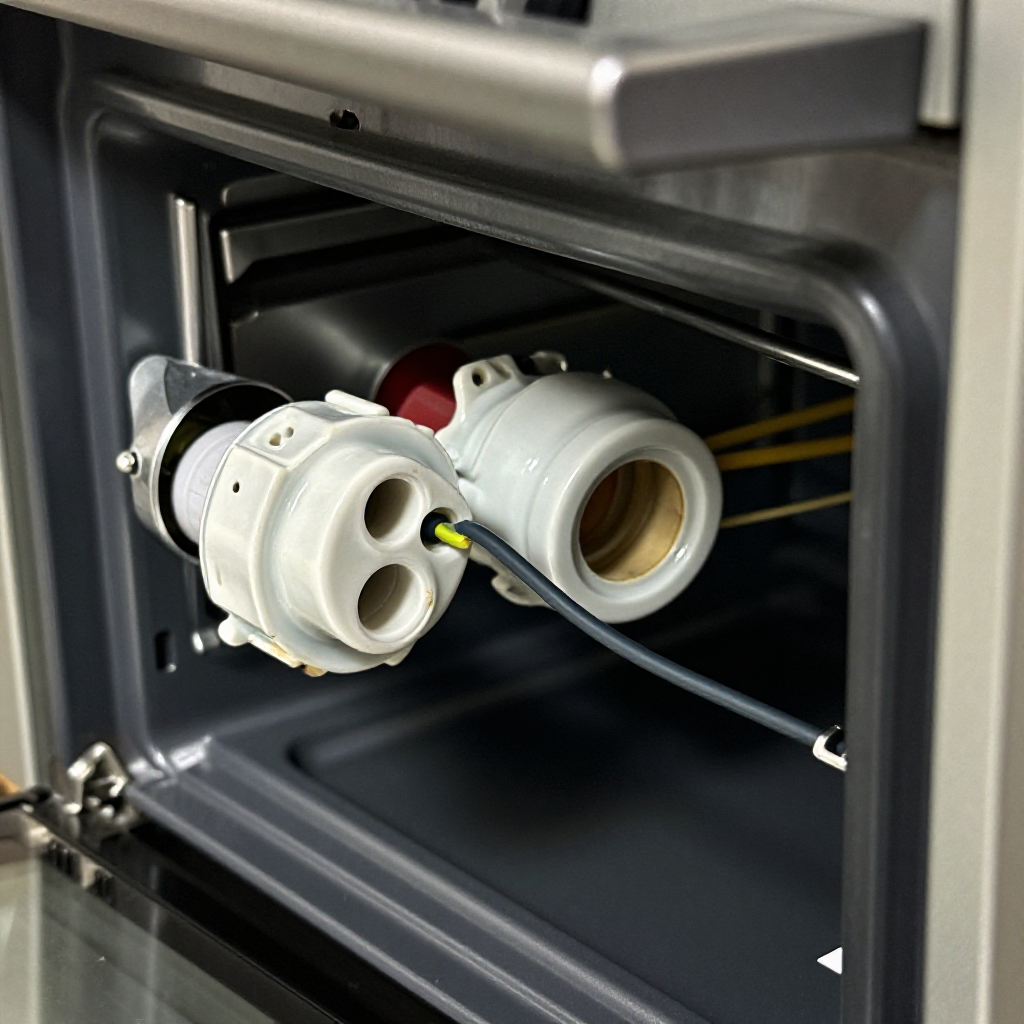
Disconnect the failed element and note the part numberGo to the back of the oven where the access panel is. Remove the panel screws (usually 2-4 Phillips screws). The element has two wire terminals on each side — pull them off carefully. Don't pull by the wire — grab the ceramic connector housing. Write down the part number printed on the element's frame. Common brands (Frigidaire, GE, Whirlpool, Bosch) use different element configurations. Take the old element to an appliance parts store or search by part number online. Expect to pay $40–$120 for a replacement.
4
Install the new bake element and test
Install the new bake element and testSlide the new element into the oven cavity and secure it with the two mounting screws. Reconnect the wire terminals — they only go on one way, so don't force it. The ceramic housings must click onto the element posts fully. Replace the back access panel and its screws. Turn the breaker back on. Set the oven to 350°F and let it preheat for 10 minutes — the element should glow evenly and the oven should reach temperature. Use an oven thermometer to confirm actual temperature.

autorenew4. If That Doesn't Work

Try the next recovery options.

electrical-services
Test the oven temperature sensor with a multimeterIf the bake element looks fine but the oven still won't heat, the oven temperature sensor (a probe on the back wall) may be faulty. With the oven off, disconnect the sensor's wire harness and measure resistance — it should read about 1,100 ohms at room temperature. If it's way off (open circuit or 0 ohms), replace it. This is a $20–40 part and a simple plug-and-play replacement.
chevron_right
build
Check the thermal fuse on the control boardIf the element and temperature sensor are fine but the oven still doesn't work, the control board's thermal fuse may have blown. This is less common but possible after a power surge. Access the control board (usually behind the front panel or behind the display). Find the small cylindrical fuse near the board's edge. Check continuity with a multimeter. A blown thermal fuse reads as infinite resistance (open circuit). Replace with the exact same type.
chevron_right
engineering
Call an appliance repair technicianIf the bake element, temperature sensor, and thermal fuse all test fine, the control board itself may be failed. Control board replacement is a more expensive repair ($150–400 parts + labor) and requires matching the exact part number to your oven model. At this point it's worth getting a diagnostic visit from an appliance tech — they'll identify exactly what's failed and give you a quote before doing any work.
chevron_right

Frequently Asked Questions

Why is my electric oven not heating but the bake element looks fine?expand_more
If the element glows but doesn't produce heat, it's still failing — the coil is breaking down electrically even if it looks intact visually. Other possibilities: the oven temperature sensor has failed, the thermal fuse on the control board blew, or the control board itself is bad. A multimeter can diagnose the element, sensor, and fuse.
How much does a new bake element cost?expand_more
Replacement bake elements for electric wall ovens typically cost $40–$120 depending on your oven brand and model. High-end brands (Wolf, Miele, Viking) can cost more. Order by your oven's model number, not just the element's appearance — shapes and wattages vary.
Can I replace the bake element myself?expand_more
Yes — it's a beginner-friendly repair if you follow electrical safety rules. Unplug the oven or turn off the circuit breaker at the panel. Remove the back access panel, disconnect the old element, and plug in the new one. Reassemble and test. The hardest part is getting the correct part number.
What causes a bake element to fail?expand_more
Bake elements typically fail from age (they're rated for thousands of hours of heating) or from being supporting heavy cookware (a rack placed on the element while hot). The coil expands and contracts every cycle — over years this causes the coating to crack and the heating wire inside to break. There's often no warning — it just stops working one day.
Is it dangerous to use an oven with a failed heating element?expand_more
Not immediately dangerous — the oven just won't heat. But running a damaged element (one with visible blisters or holes) can cause arcing and, in rare cases, a fire inside the oven cavity. Replace a visibly damaged element before using the oven.

warning5. Stop DIY If

Don't continue if any of these apply.

reportIf the oven is hardwired (not plugged in) and you're not comfortable working with 240V wiring, call an electrician or appliance tech instead.
reportIf the oven interior shows signs of arcing (black scorch marks around the element terminals, a burning smell when it heats), do not use the oven until a professional has inspected it — the wiring may be compromised.
reportIf the control board shows visible damage (cracked board, burnt components, melted plastic), do not attempt repair — call a professional.
Still stuck?Get personalized help with AI Recovery.

Related Recovery Problems

View all arrow_forward

Same Device Recovery States

Device index arrow_forward

Similar Failure Pattern

This page provides general DIY guidance.
If you're unsure, it's always best to consult a professional.