Why Is My Kitchen Faucet Dripping at the Base?
A dripping kitchen faucet base is usually caused by a worn O-ring or loose mounting nut. Fix it in under 30 minutes without calling a plumber.
quick_referenceQuick Answer
For Why Is My Kitchen Faucet Dripping at the Base?, start with "Turn off water supply and drain lines": Locate the shutoff valves under the sink and turn them clockwise to close. Open the faucet handle to release any remaining water pressure. Stop DIY if the faucet body is cracked or corroded. This is listed as a easy recovery and usually takes about 30 min.
verifiedGuide Snapshot
Last updated Jun 24, 2026. Review the stop conditions before continuing.
account_treeRecovery State
help1. Understand the Problem
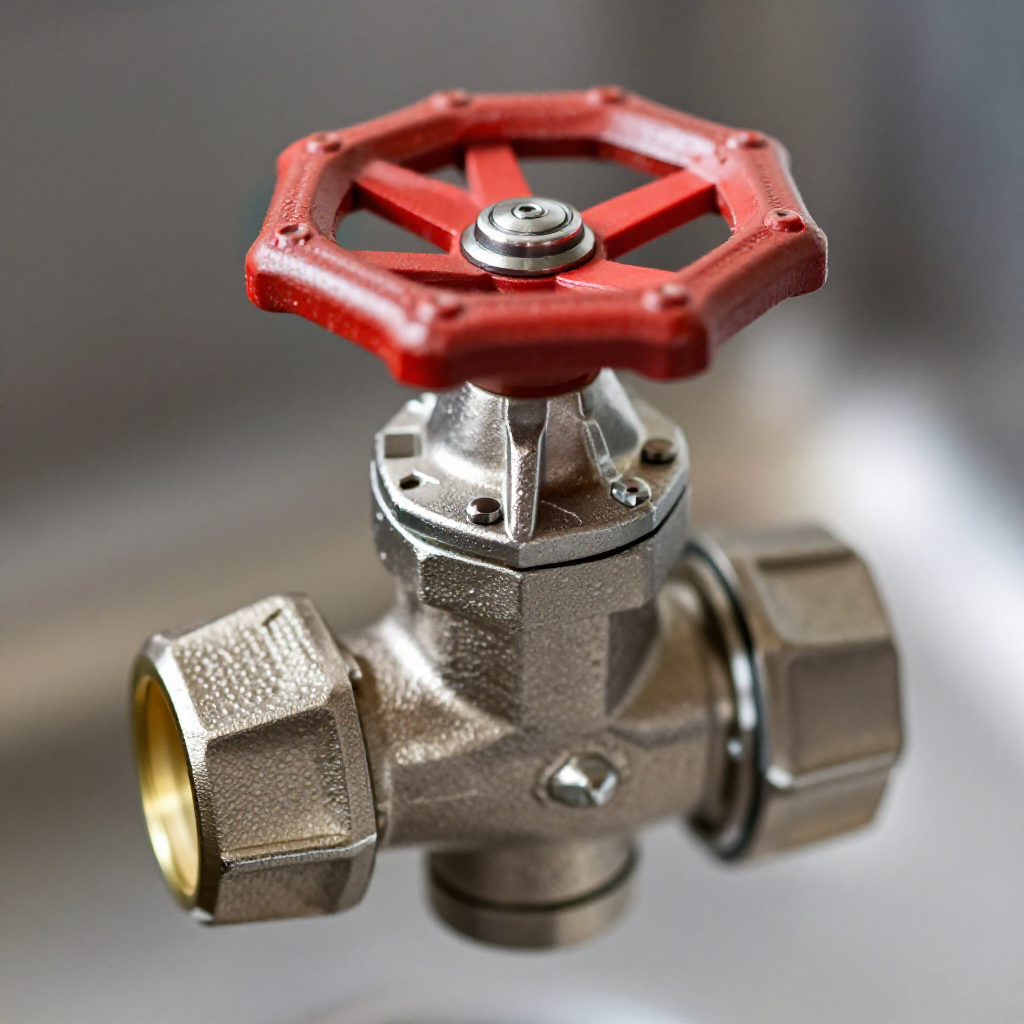
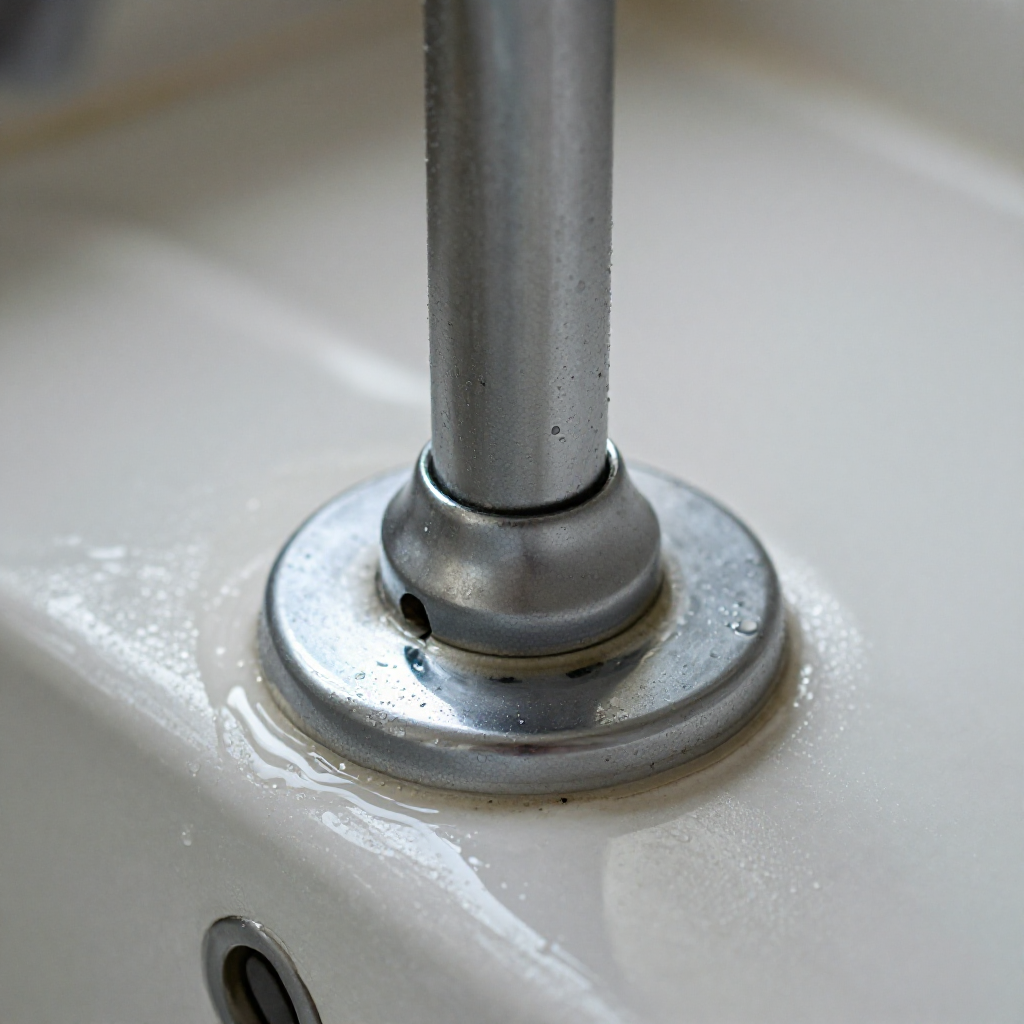
The base of a kitchen faucet drips when the O-ring or seal that sits between the faucet body and the sink deck wears out. Over time, mineral buildup and constant movement degrade the rubber, allowing water to seep out. This is a common issue on pull-down and gooseneck faucets, often noticed after several years of use.
build_circle2. Try This First
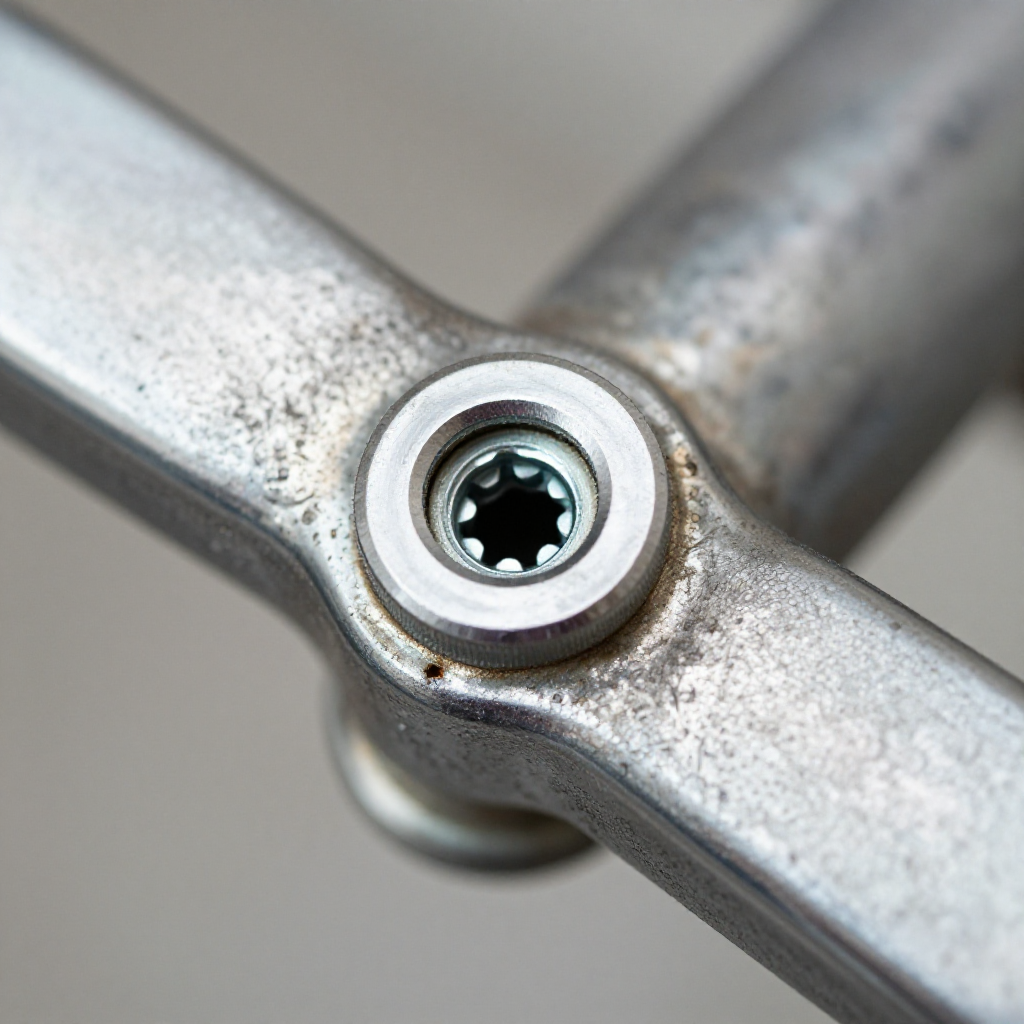
Turn off water supply and drain lines
Locate the shutoff valves under the sink and turn them clockwise to close. Open the faucet handle to release any remaining water pressure.
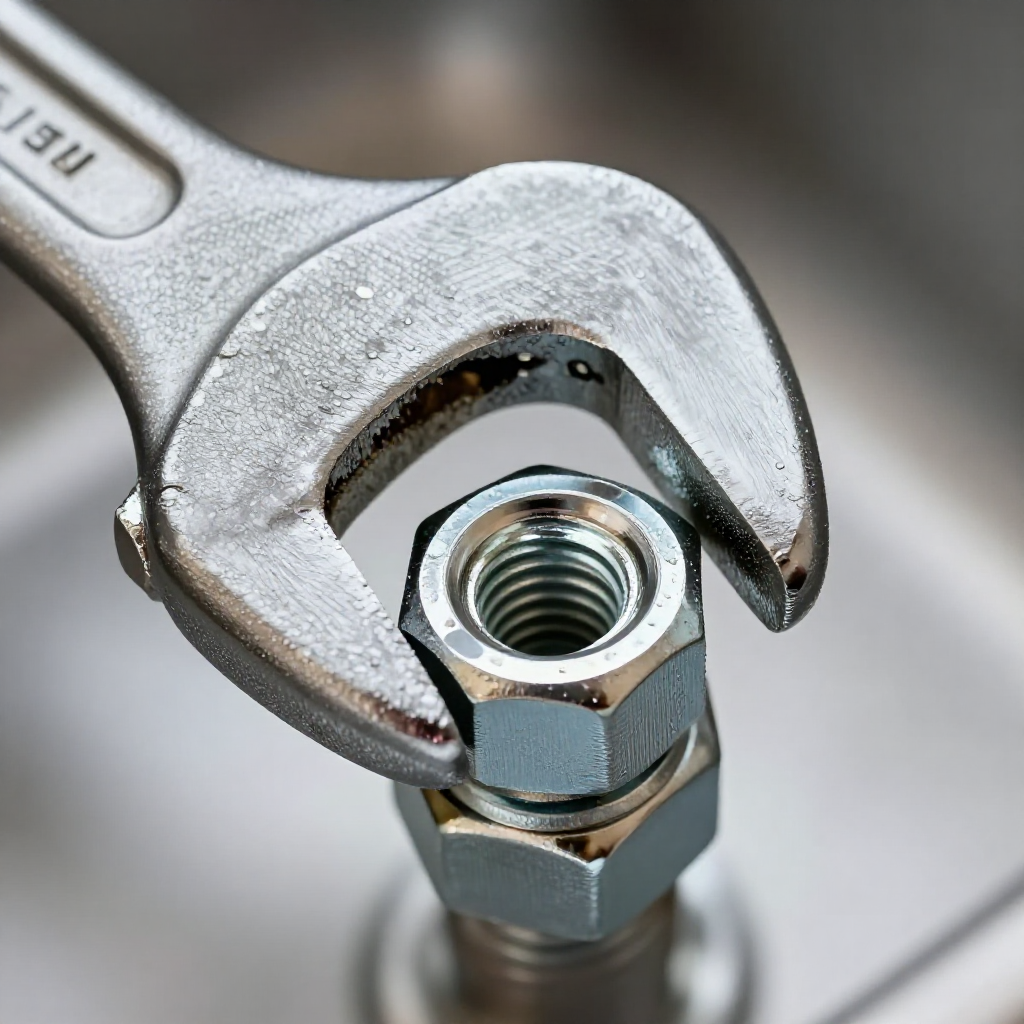
visibility3. Visual Guidance
See what's happening and how to try the first recovery step.
autorenew4. If That Doesn't Work
Try the next recovery options.
Frequently Asked Questions
Can I use plumber's tape on the O-ring?expand_more
How do I know what size O-ring to buy?expand_more
Will the drip damage my sink cabinet?expand_more
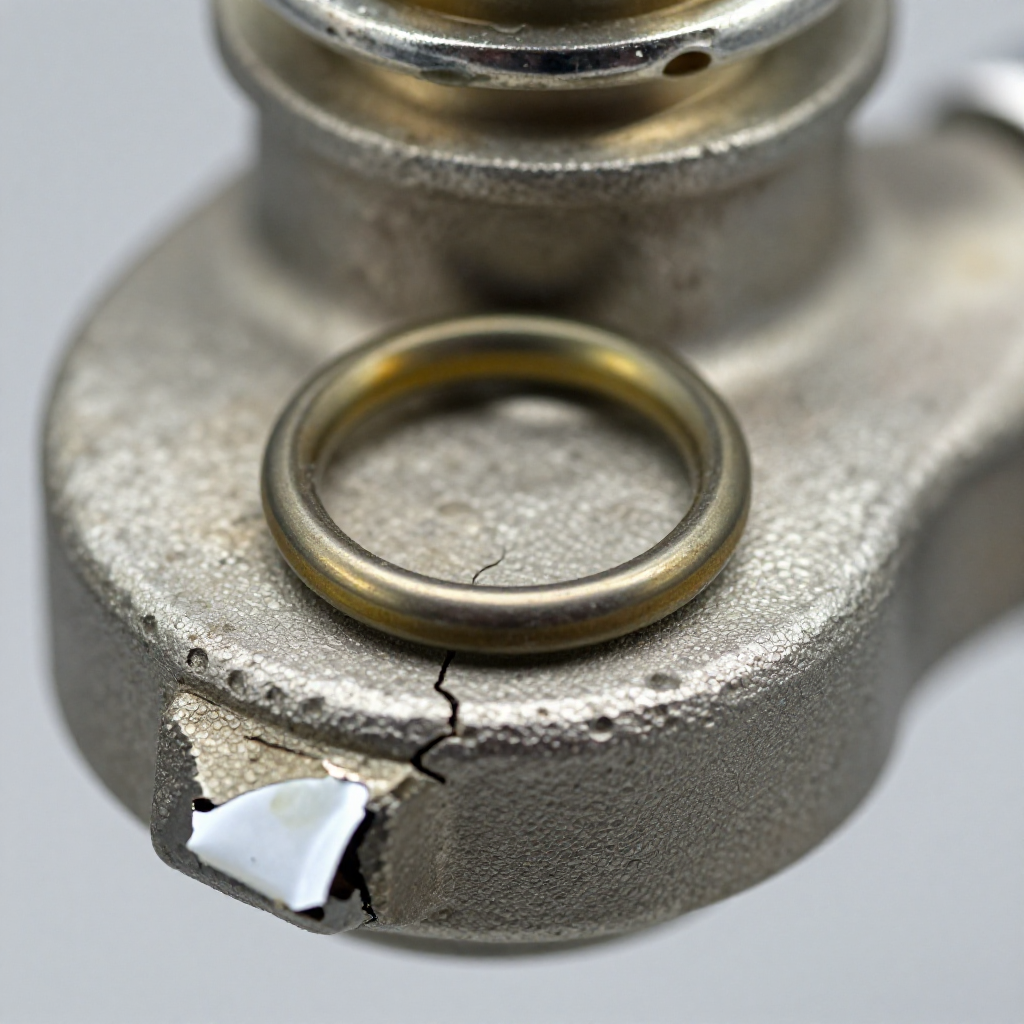
warning5. Stop DIY If
Don't continue if any of these apply.
Same Device Recovery States
Device index arrow_forwardSimilar Failure Pattern
This page provides general DIY guidance.
If you're unsure, it's always best to consult a professional.