STUCKFIX
handymanDIY Friendly
water

Garden Hose Leaking at the Connection or Spray Nozzle

Water spraying from the hose connection point wastes gallons and drops your water pressure. Replace the washer and fix the leak in minutes without buying a new hose.

Category:Outdoor
Difficulty:Easy
Time:5-10 min
Success:50%
Updated:May 23, 2026

quick_referenceQuick Answer

For Garden Hose Leaking at the Connection or Spray Nozzle, start with "Replace the rubber washer before you buy anything else": Stop cranking the connection tighter — you're deforming the brass threads. Unscrew the hose from the leaking joint and look inside the female end. There's a small flat rubber or silicone washer sitting in the bottom. If it's missing, cracked, flattened, or pushed to one side, that's your leak. Pop it out with a small flathead screwdriver, take it to any hardware store, and buy a pack of hose washers for under $3. Push the new washer in flat, reconnect hand-tight plus a quarter turn with pliers — no more. Stop DIY if the leak is from the spigot pipe inside the wall, not at the hose connection — this means the pipe or valve body is cracked. This is listed as a easy recovery and usually takes about 5-10 min.

verifiedGuide Snapshot

Repair areaOutdoor
Estimated time5-10 min
DifficultyEasy
Stop conditions4

Last updated May 23, 2026. Review the stop conditions before continuing.

account_treeRecovery State

Current stateLeaking
Specific stateConnection Joint Spraying
Failed stepAttaching Nozzle Or Spigot
Likely failure typeLeak Path
DIY boundaryDIY recovery first
paymentsCost decision

help1. Understand the Problem

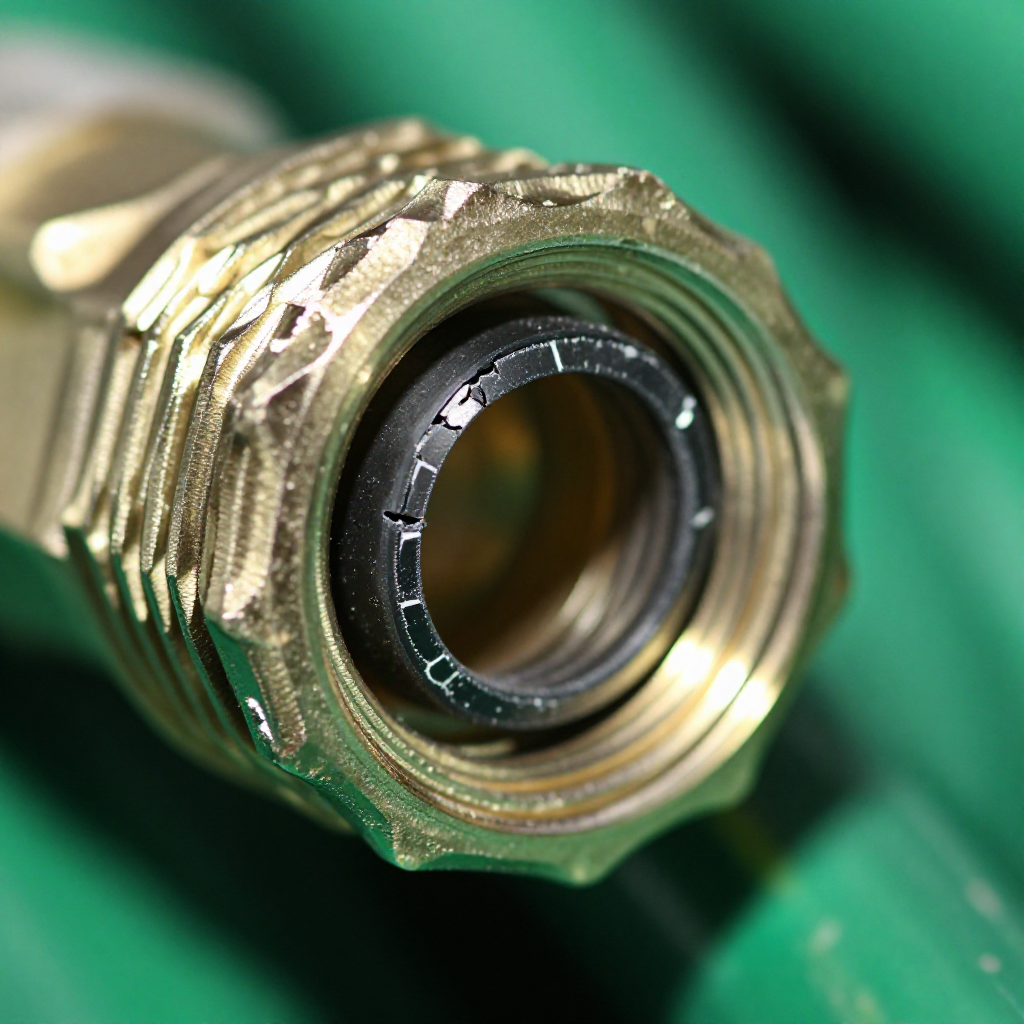
Hose connection leaks almost always come from a dried-out, cracked, or missing rubber washer inside the female coupling. This small washer is the only thing creating a seal between the hose and the spigot, nozzle, or sprayer. Over time, heat and cold cycles shrink and crack the rubber, water pressure pushes it out of position, or someone cranks the connection too tight and deforms it. The brass threads themselves rarely fail first.

build_circle2. Try This First
Best First Step
Replace the rubber washer before you buy anything else

Replace the rubber washer before you buy anything else

Stop cranking the connection tighter — you're deforming the brass threads. Unscrew the hose from the leaking joint and look inside the female end. There's a small flat rubber or silicone washer sitting in the bottom. If it's missing, cracked, flattened, or pushed to one side, that's your leak. Pop it out with a small flathead screwdriver, take it to any hardware store, and buy a pack of hose washers for under $3. Push the new washer in flat, reconnect hand-tight plus a quarter turn with pliers — no more.

visibility3. Visual Guidance

See what's happening and how to try the first recovery step.
1
Check if the hose end threads are damaged
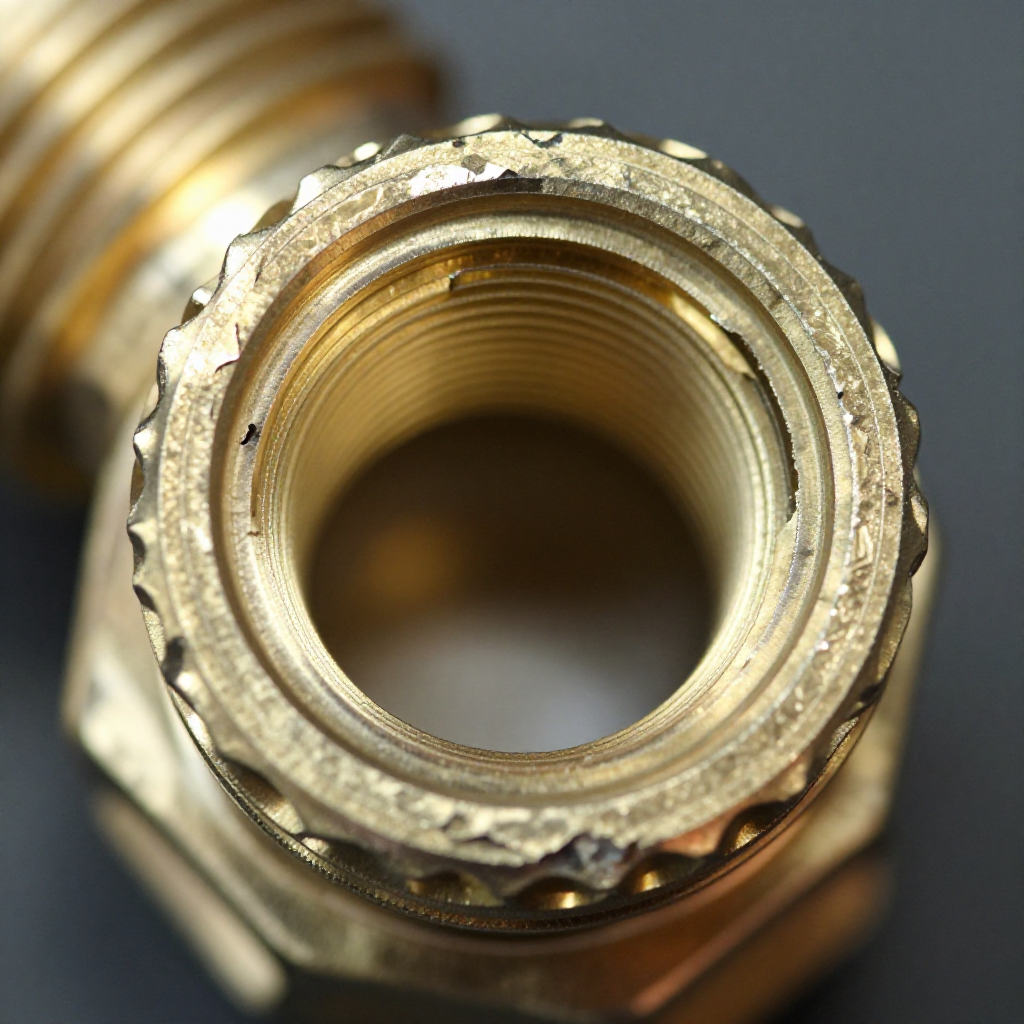
Check if the hose end threads are damagedIf a new washer doesn't stop the leak, inspect the brass or aluminum threads on both sides of the connection. Cross-threading from forcing the connection on at an angle can deform the threads so they'll never seal. Run your fingernail along the threads — if you feel burrs or flattening, you may need a hose mender fitting.
2
Use thread seal tape for persistent joint leaks
Use thread seal tape for persistent joint leaksFor connections that won't seal even with a new washer, especially at the spigot end, wrap the male threads with 2-3 layers of PTFE thread seal tape (white for water). Wrap clockwise so the tape doesn't unwind when you screw the hose on. This fills the microscopic gaps in worn threads.
3
Cut off the old end and install a repair fitting
Cut off the old end and install a repair fittingIf the threads are shot on the hose end itself, cut the last 2 inches off with a sharp utility knife. Buy a hose repair or mender end (male or female as needed) from the hardware store. Slide the clamp over the hose, push the barbed fitting inside, and tighten the clamp. This is a permanent fix that costs about $4.

autorenew4. If That Doesn't Work

Try the next recovery options.

layers
Stack two washers for a worn or shallow fittingSome cheaper nozzles have shallow female threads that don't compress a single washer enough. Stack two washers on top of each other for extra thickness and a tighter seal.
chevron_right
link
Use a quick-connect adapter systemInstall a quick-connect set on your spigot, hose, and all attachments. These use O-ring seals and snap together without threading. It stops the wear-and-tear of threading and unthreading every time.
chevron_right

Frequently Asked Questions

Why does my brand new hose leak at the connection?expand_more
New hoses often ship with thin, cheap washers that compress too much on first use. Replace it with a heavy-duty rubber or silicone washer from a hardware store. Also check that you're not overtightening — that deforms the new washer immediately.
Can I use plumber's tape on garden hose threads?expand_more
Garden hose threads (GHT) seal at the washer face, not at the threads — so tape on the threads usually doesn't help. But if the threads are worn and the connection bottoms out before the washer fully compresses, tape can take up the slack.
What size washer does a standard garden hose take?expand_more
Standard garden hose washers are 3/4 inch (GHT). A pack of 10 costs under $3. Look for red silicone washers if you can find them — they last longer in sun and freezing temps than black rubber.

warning5. Stop DIY If

Don't continue if any of these apply.

reportThe leak is from the spigot pipe inside the wall, not at the hose connection — this means the pipe or valve body is cracked.
reportThe hose bib is frozen or the pipe behind it has burst inside the wall.
reportWater is leaking from inside the wall cavity where the spigot pipe runs.
reportThe main shutoff valve to the outdoor spigot doesn't work and you can't isolate the water supply.
Still stuck?Get personalized help with AI Recovery.

Related Recovery Problems

View all arrow_forward

Same Device Recovery States

Device index arrow_forward

Similar Failure Pattern

This page provides general DIY guidance.
If you're unsure, it's always best to consult a professional.