STUCKFIX
handymanDIY Friendly
plumbing

PVC Trap Adapter Nut Cracked and Leaking Under the Bathroom Sink

The plastic nut on your sink P-trap cracked and water drips onto the cabinet floor. You don't need a new trap — just the right nut and a straight seating trick.

Category:Plumbing
Difficulty:Easy
Time:10 min
Success:50%
Updated:May 28, 2026

quick_referenceQuick Answer

For PVC Trap Adapter Nut Cracked and Leaking Under the Bathroom Sink, start with "Put a bucket under it and loosen, don't tighten, the cracked nut": If the nut is already cracked, tightening it will split it wide open and you'll have a full leak, not a drip. Place a bowl or small bucket under the P-trap. Loosen the cracked nut completely by hand or with channel-lock pliers. Slide it down the pipe and inspect the slip-joint washer underneath. If the washer is hardened, flattened, or deformed, replace it too — a new nut on an old washer will still leak. Stop DIY if the leak has been running long enough that the cabinet floor is rotted, moldy, or soft to the touch — you have structural damage beyond a plumbing repair. This is listed as a easy recovery and usually takes about 10 min.

verifiedGuide Snapshot

Repair areaPlumbing
Estimated time10 min
DifficultyEasy
Stop conditions4

Last updated May 28, 2026. Review the stop conditions before continuing.

account_treeRecovery State

DeviceFaucet
Current stateTrap Nut Cracked
Specific statePlastic Slip Nut Split
Failed stepP Trap Connection
Likely failure typeLeak Path
DIY boundaryDIY recovery first
paymentsCost decision

help1. Understand the Problem

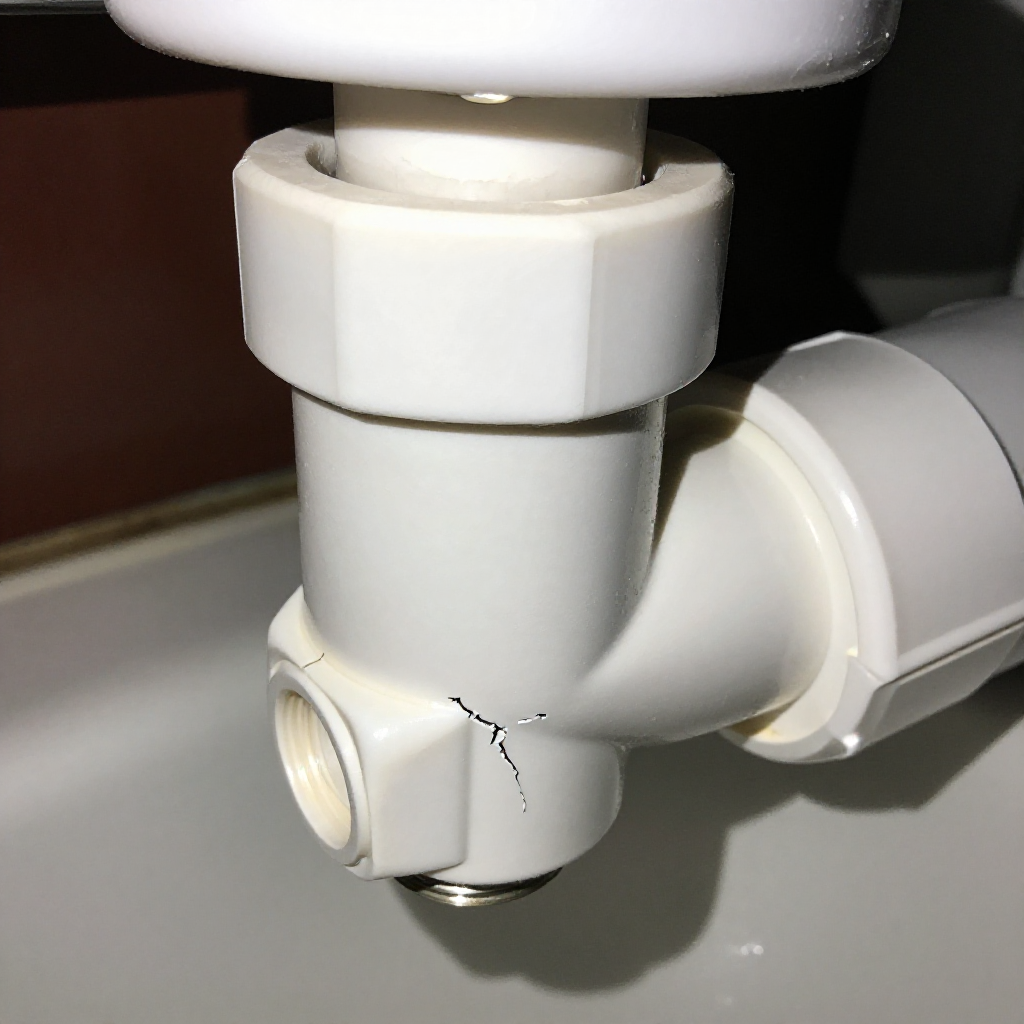
The plastic slip-joint nuts that connect the P-trap under bathroom sinks crack for a predictable reason: they were overtightened during installation or a previous repair. PVC nuts only need hand-tight plus a quarter-turn with pliers, but many people crank them down with a wrench. Over months of hot water expansion and cold water contraction, the stressed plastic finally splits — usually along the thin section at the thread.

build_circle2. Try This First
Best First Step
Put a bucket under it and loosen, don't tighten, the cracked nut

Put a bucket under it and loosen, don't tighten, the cracked nut

If the nut is already cracked, tightening it will split it wide open and you'll have a full leak, not a drip. Place a bowl or small bucket under the P-trap. Loosen the cracked nut completely by hand or with channel-lock pliers. Slide it down the pipe and inspect the slip-joint washer underneath. If the washer is hardened, flattened, or deformed, replace it too — a new nut on an old washer will still leak.

visibility3. Visual Guidance

See what's happening and how to try the first recovery step.
1
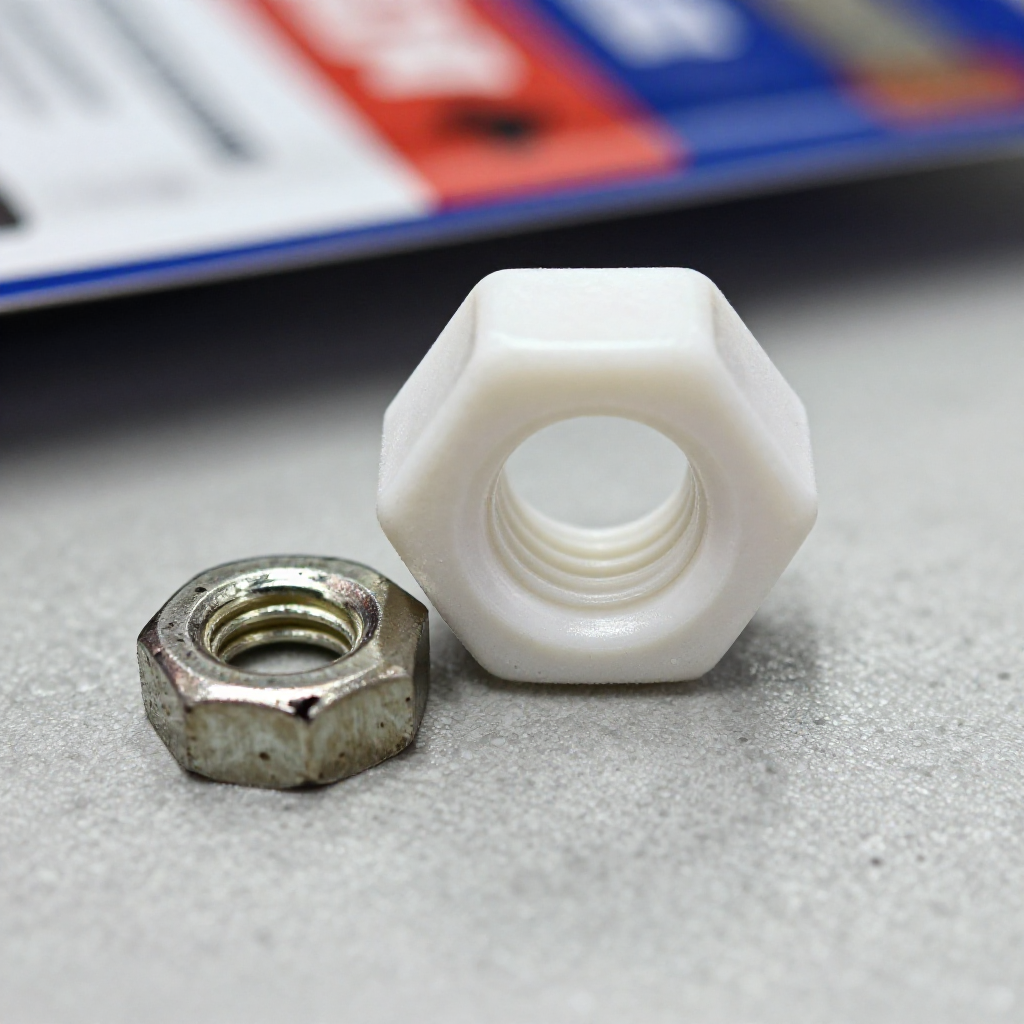
Buy the right size slip-joint nut and washer
Buy the right size slip-joint nut and washerBathroom sink drains are almost always 1-1/4 inch, while kitchen sinks are 1-1/2 inch. Take the cracked nut and old washer to the hardware store to match them. Buy a nylon or polypropylene nut with a matching beveled washer. The washer goes flat-side toward the nut, beveled-side toward the trap fitting. Get two sets — if one nut cracked from age, the others on the same trap aren't far behind.
2
Inspect the trap threads for damage and clean them
Inspect the trap threads for damage and clean themBefore installing the new nut, check the male threads on the trap fitting. If the old nut was cross-threaded, the plastic threads may be flattened or chewed up. Use a small wire brush or old toothbrush to clean any debris, old putty, or mineral buildup from the threads. If the threads are badly damaged, you'll need a new trap arm or the entire P-trap assembly.
3
Seat the washer and hand-tighten the nut dead straight
Seat the washer and hand-tighten the nut dead straightSlide the new nut onto the pipe first, then the washer with the bevel facing the trap. Push the pipe fully into the trap fitting until it bottoms out. Thread the nut on by hand, turning counterclockwise first until you feel the thread click — this prevents cross-threading. Keep the nut perfectly straight as you tighten. If it binds halfway, back it off and restart.
4
Tighten gently, test, and tighten only if it drips
Tighten gently, test, and tighten only if it dripsHand-tighten until the nut stops. Dry the joint completely with a paper towel. Run the water at full flow for 30 seconds, then shut it off. Run a dry paper towel around the joint — it should stay bone dry. If there's a slight weep, give the nut an additional quarter-turn with channel-locks — no more. Over-tightening is how this nut cracked in the first place. Leave the bucket underneath for a few hours as a final check.

autorenew4. If That Doesn't Work

Try the next recovery options.

link
Use a rubber flexible coupling as a quick fixIf the threads on the trap arm are too damaged for a slip nut but you can't replace the entire trap today, a rubber fernco-style flexible coupling with hose clamps bridges the gap. It's not a permanent solution — PVC slip joints are the correct repair — but it stops the leak immediately and buys you time.
chevron_right
cached
Replace the entire P-trap assemblyIf multiple nuts are cracked, the trap body is discolored or brittle from chemical drain cleaner exposure, or the threads are too chewed up, a whole new P-trap kit costs under $15 and installs in 15 minutes with nothing more than hand tightening.
chevron_right

Frequently Asked Questions

Why do PVC slip nuts keep cracking even when I don't overtighten them?expand_more
Chemical drain cleaners weaken PVC over time — the plastic becomes brittle and cracks under normal stress. If you've used Drano or similar products in that sink, the trap components are likely compromised. Flush with water only going forward and replace the entire trap with new PVC.
Does the slip-joint washer go bevel up or bevel down?expand_more
Bevel faces the trap fitting, flat face goes against the nut. When the nut tightens, it pushes the flat face, which forces the beveled side to wedge into the gap between pipe and fitting — that's the seal.
Can I use plumber's putty or silicone instead of the washer?expand_more
No. Slip-joint connections seal by compression of the beveled washer, not by caulk or putty. Adding putty or silicone between the nut and threads prevents the nut from fully compressing the washer and almost guarantees a slow drip. Use only the correct washer, dry and clean.

warning5. Stop DIY If

Don't continue if any of these apply.

reportThe leak has been running long enough that the cabinet floor is rotted, moldy, or soft to the touch — you have structural damage beyond a plumbing repair.
reportThe pipe you're working on is metal (brass or chrome-plated brass) and the threads are completely stripped — metal trap systems in older homes may contain lead solder and require professional replacement.
reportWater has leaked into the wall cavity or is dripping into the floor below — this is no longer a simple P-trap fix.
reportThe sink drain pipe is blocked and standing water in the trap is causing the leak — you need to clear the clog before repairing the joint.
Still stuck?Get personalized help with AI Recovery.

Related Recovery Problems

View all arrow_forward

Same Device Recovery States

Device index arrow_forward

Similar Failure Pattern

This page provides general DIY guidance.
If you're unsure, it's always best to consult a professional.