Water Pressure Low After Installing New Shower Head?
New shower head delivering a trickle instead of a spray? Learn how to diagnose and fix low water pressure caused by debris or a flow restrictor.
quick_referenceQuick Answer
For Water Pressure Low After Installing New Shower Head?, start with "Check for Debris in the Inlet": Unscrew the shower head from the arm. Look inside the connection for any rubber washers, Teflon tape fragments, or sediment. Rinse out any debris you find. Stop DIY if water pressure is low at every fixture in the house (could be a main supply issue). This is listed as a easy recovery and usually takes about 20 min.
verifiedGuide Snapshot
Last updated Jun 21, 2026. Review the stop conditions before continuing.
account_treeRecovery State
help1. Understand the Problem
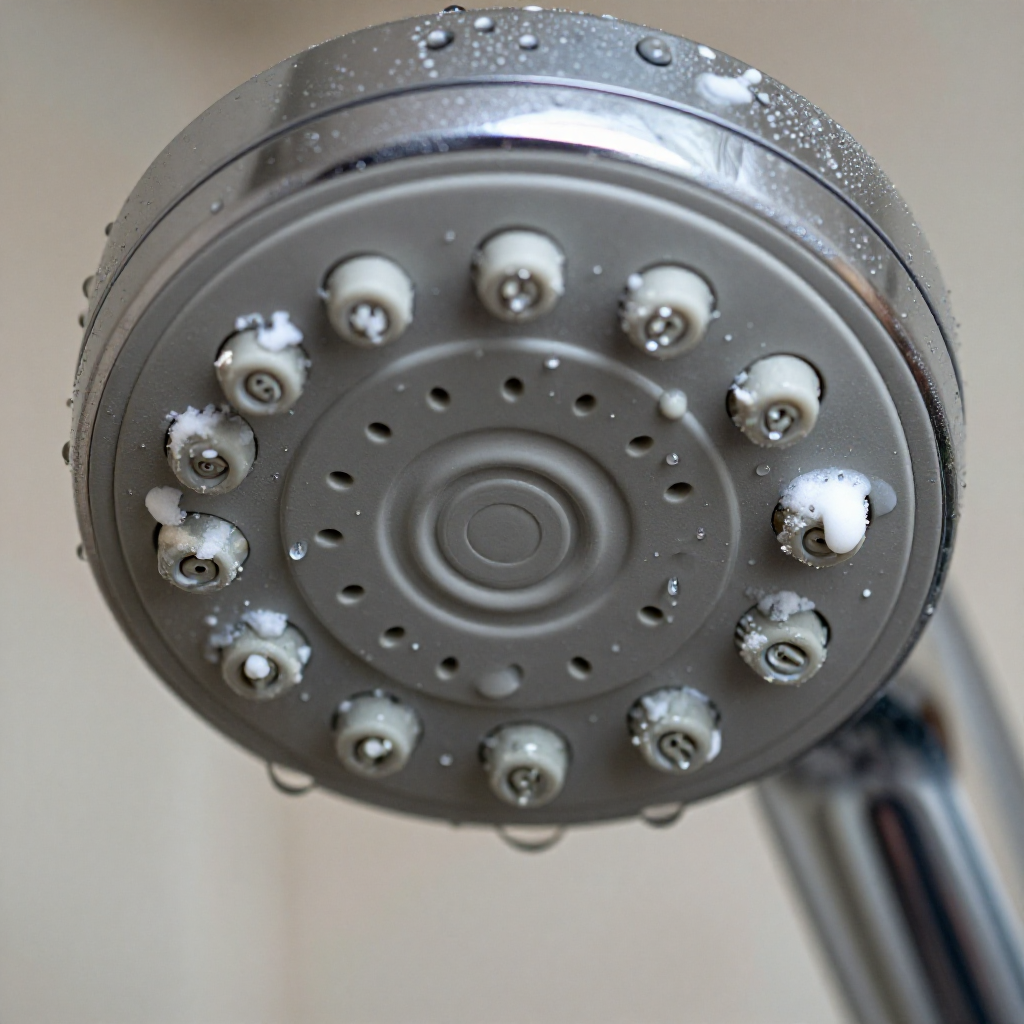
A new shower head often comes with a factory-installed flow restrictor designed to save water, which can sometimes reduce pressure more than expected. Additionally, debris or Teflon tape from the installation can clog the small inlet holes. This guide helps you identify the root cause and restore full pressure.
build_circle2. Try This First
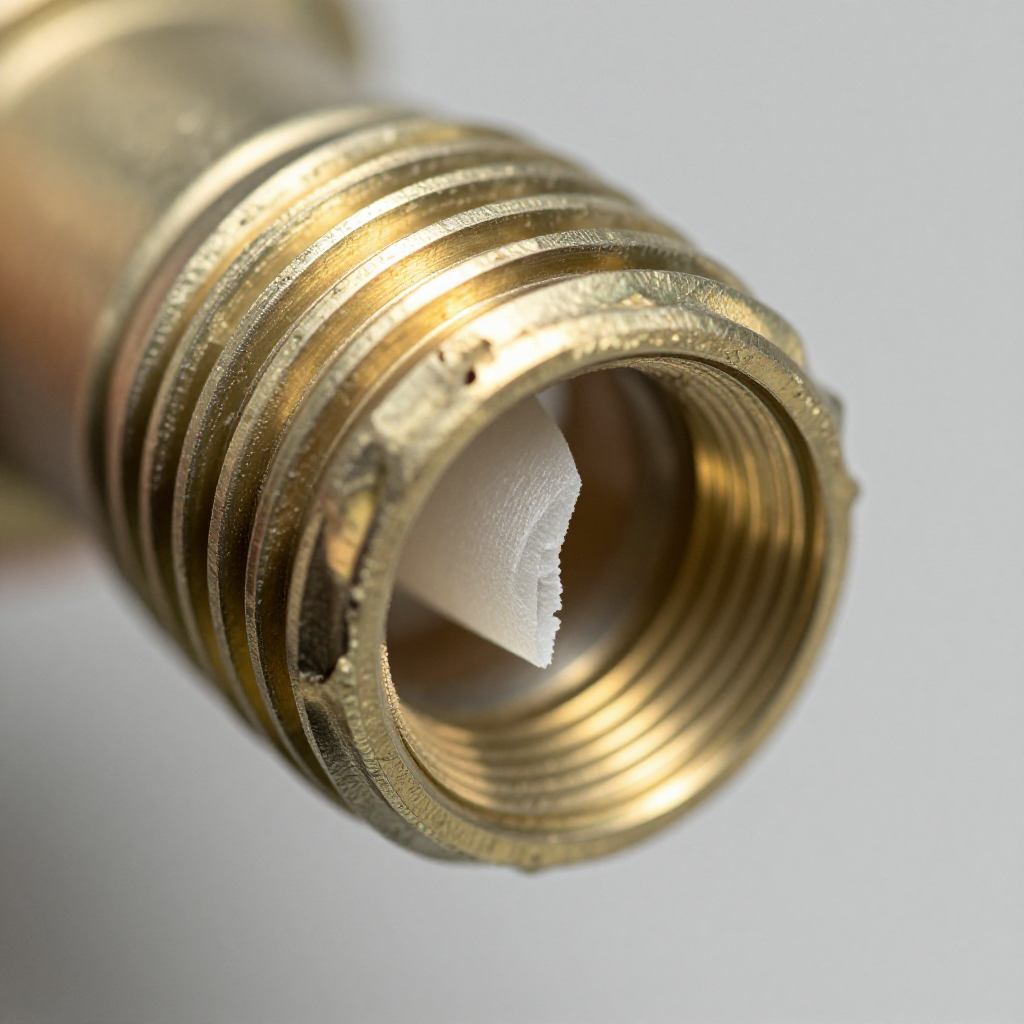
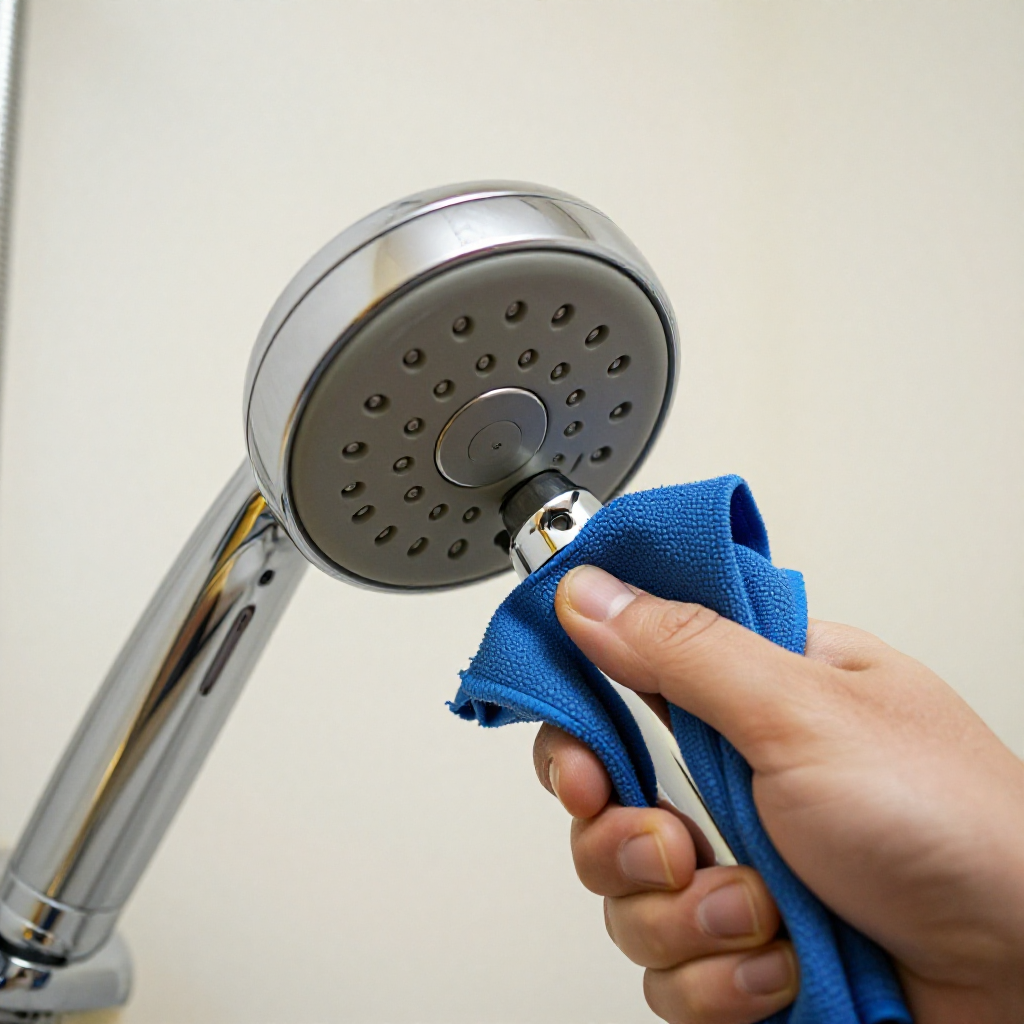
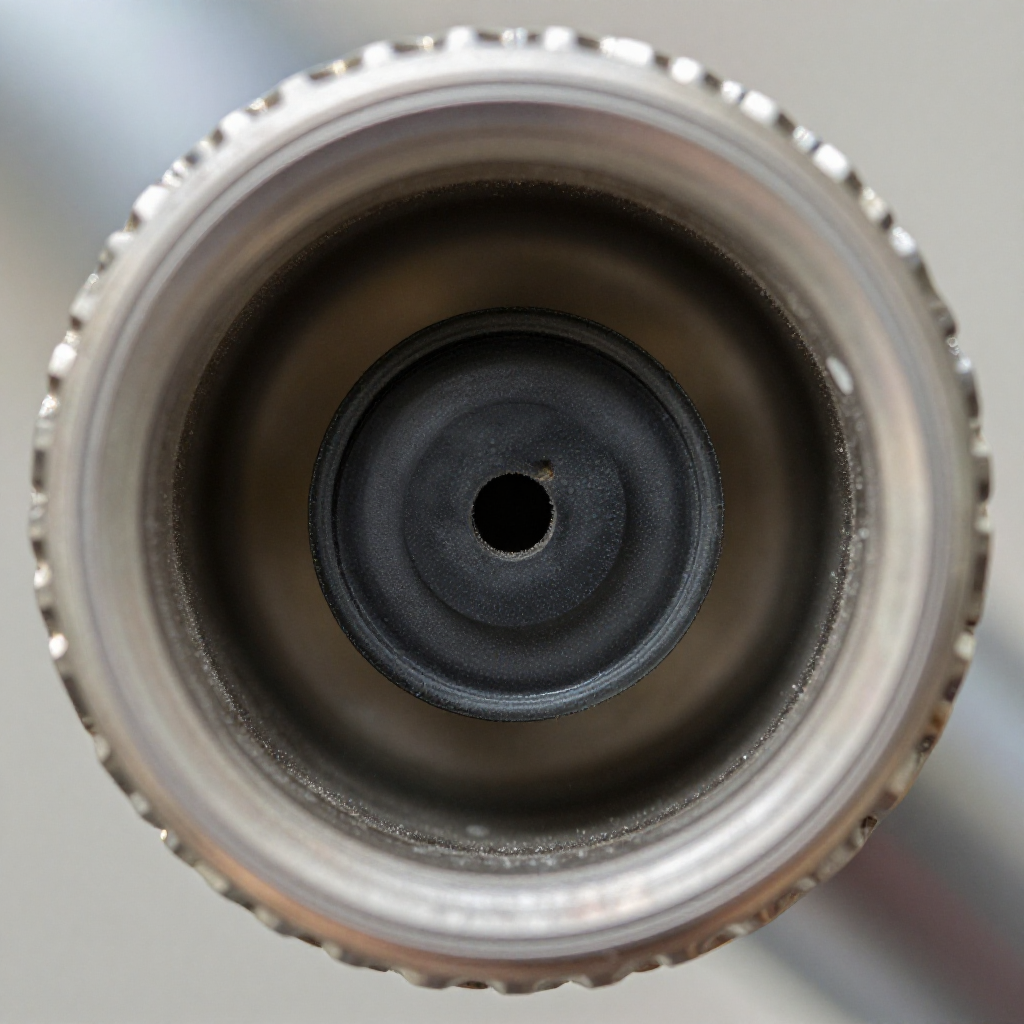
Check for Debris in the Inlet
Unscrew the shower head from the arm. Look inside the connection for any rubber washers, Teflon tape fragments, or sediment. Rinse out any debris you find.
visibility3. Visual Guidance
See what's happening and how to try the first recovery step.
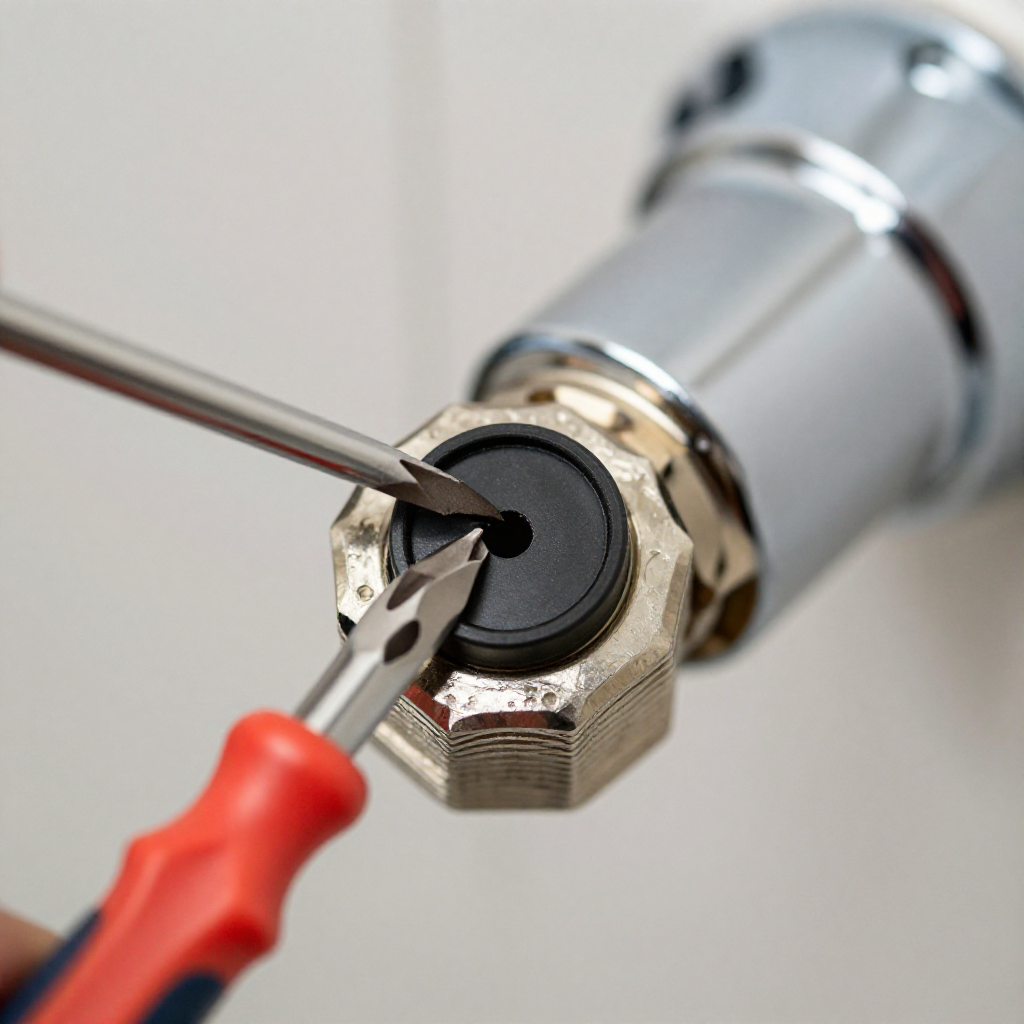
autorenew4. If That Doesn't Work
Try the next recovery options.
Frequently Asked Questions
expand_more
expand_more
expand_more
expand_more
warning5. Stop DIY If
Don't continue if any of these apply.
Similar Failure Pattern
This page provides general DIY guidance.
If you're unsure, it's always best to consult a professional.