Why Is My Toilet Running Constantly After Replacing the Flapper?
A new flapper that still lets water run means the chain is too tight, the flapper is misaligned, or the fill valve needs adjustment.
quick_referenceQuick Answer
For Why Is My Toilet Running Constantly After Replacing the Flapper?, start with "Turn Off Water and Flush the Toilet": Turn the shut-off valve behind the toilet clockwise until it stops. Flush the toilet to empty the tank, leaving only a small amount of water in the bowl. Stop DIY if the flush valve or overflow tube is cracked or damaged. This is listed as a easy recovery and usually takes about 15 min.
verifiedGuide Snapshot
Last updated May 30, 2026. Review the stop conditions before continuing.
account_treeRecovery State
help1. Understand the Problem
A constantly running toilet after a flapper replacement usually indicates the chain is too short (holding the flapper open), the flapper is not seating properly on the flush valve, or the fill valve is set too high causing water to spill into the overflow tube. These issues are easy to diagnose and fix without draining the tank.
build_circle2. Try This First
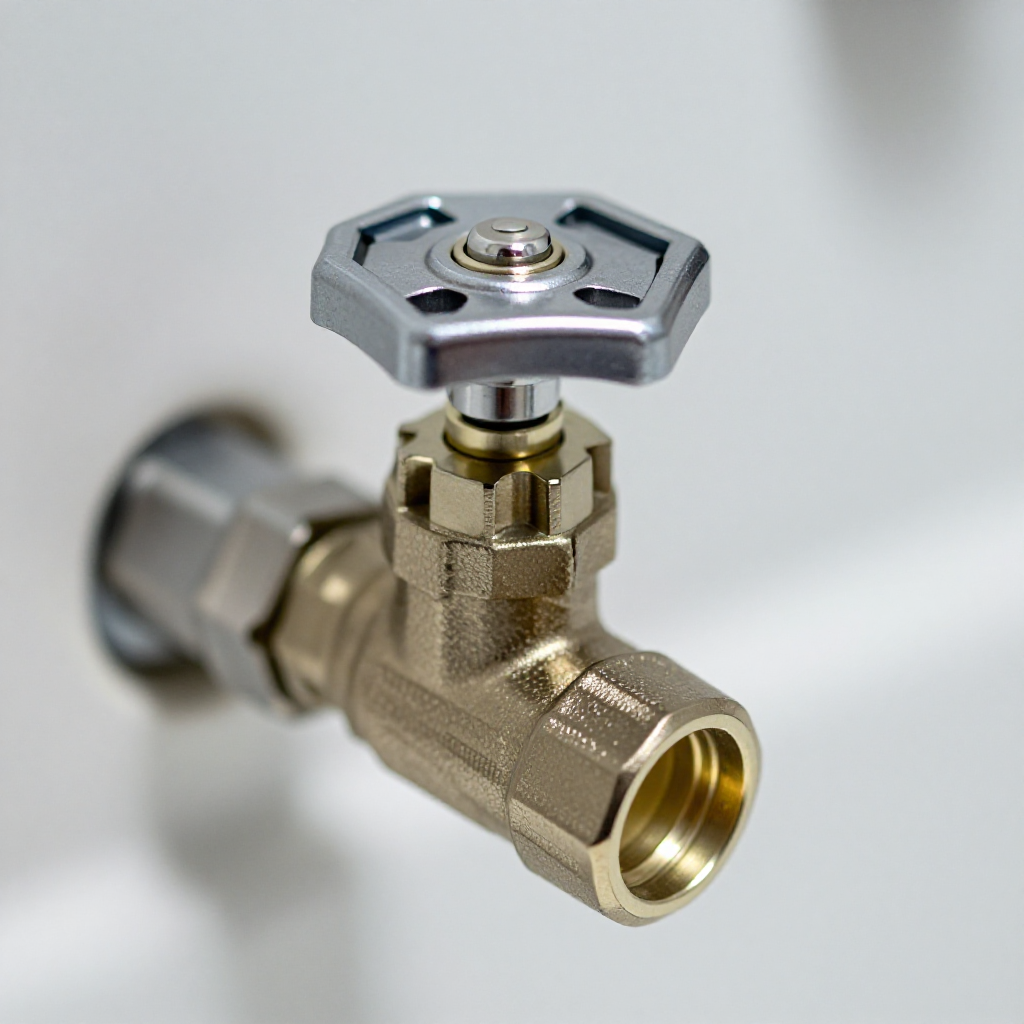
Turn Off Water and Flush the Toilet
Turn the shut-off valve behind the toilet clockwise until it stops. Flush the toilet to empty the tank, leaving only a small amount of water in the bowl.
visibility3. Visual Guidance
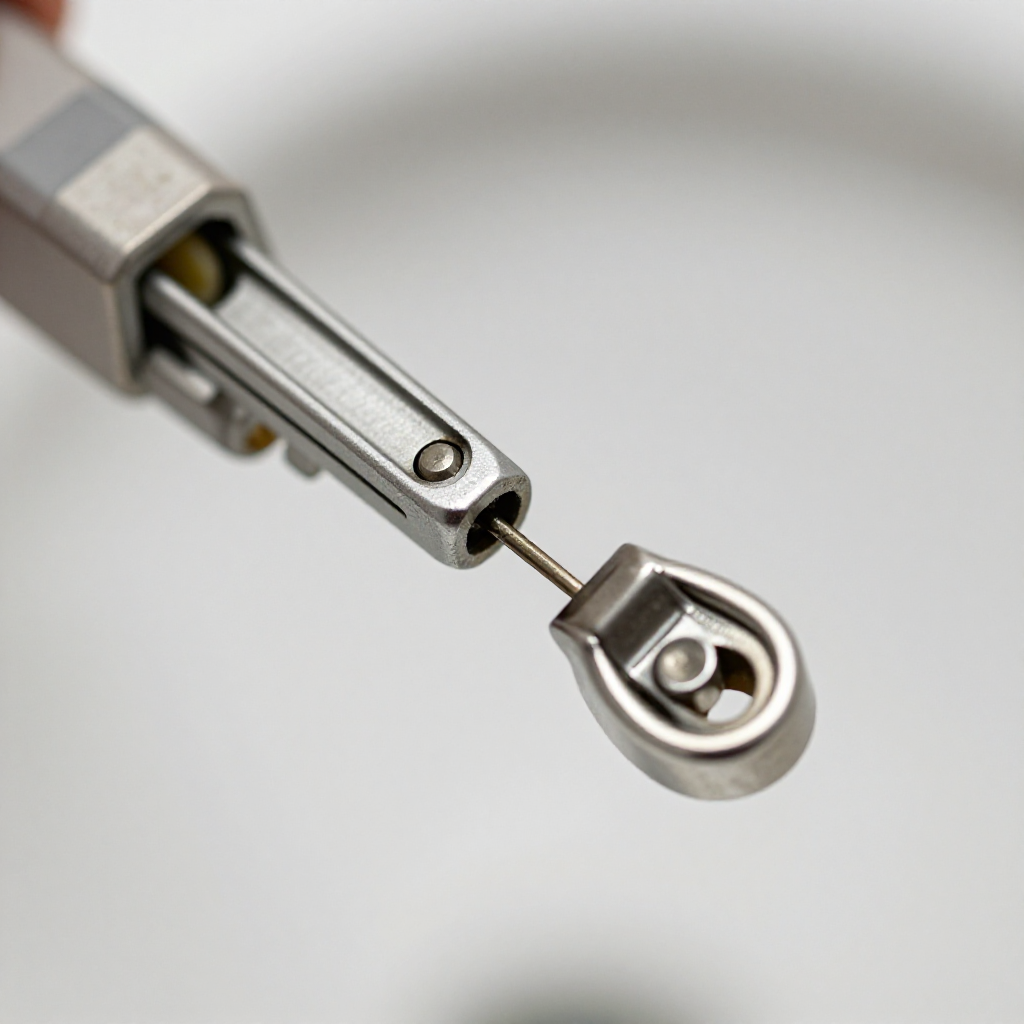
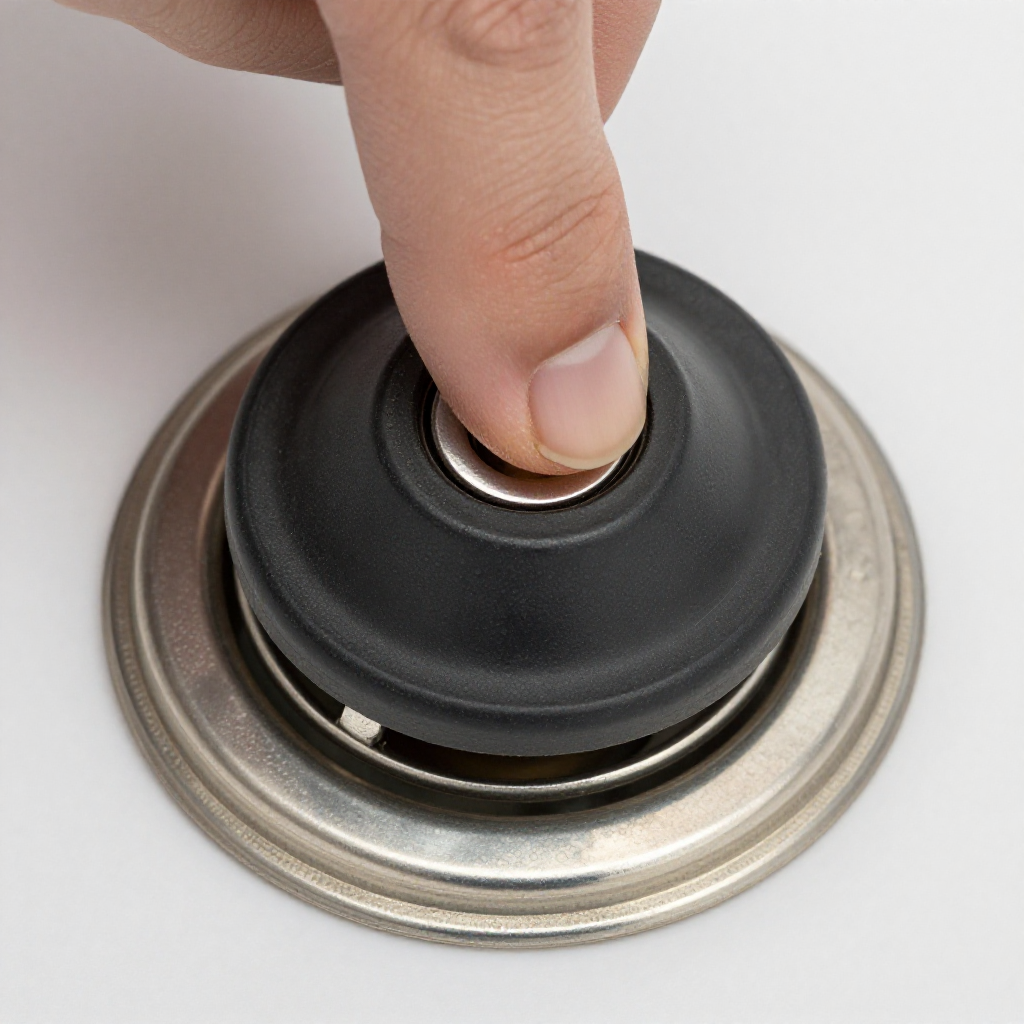
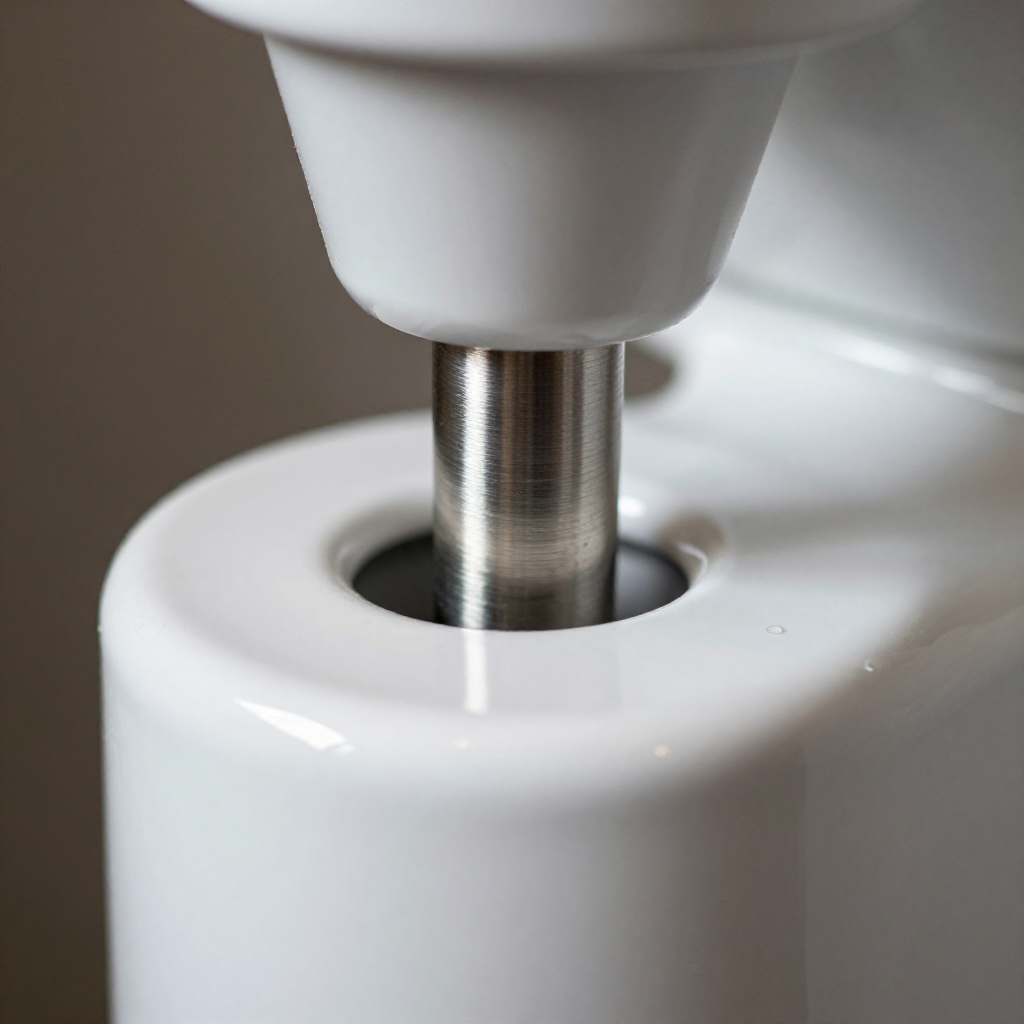
See what's happening and how to try the first recovery step.
autorenew4. If That Doesn't Work
Try the next recovery options.
Frequently Asked Questions
Why does my new flapper still leak?expand_more
Can a fill valve cause a running toilet?expand_more
Should I replace the whole fill valve if adjusting doesn't work?expand_more
warning5. Stop DIY If
Don't continue if any of these apply.
Same Device Recovery States
Device index arrow_forwardSimilar Failure Pattern
This page provides general DIY guidance.
If you're unsure, it's always best to consult a professional.