STUCKFIX
handymanDIY Friendly
build

Outdoor Spigot Leaking from Handle? Stop the Drip for Good

If water drips from the handle when the spigot is on, the packing nut or washer is worn. Replace it in 15 minutes with basic tools.

Category:Plumbing
Difficulty:Easy
Time:15 min
Success:50%
Updated:Jul 27, 2026

quick_referenceQuick Answer

For Outdoor Spigot Leaking from Handle? Stop the Drip for Good, start with "Shut off water and drain the spigot": Locate the indoor shut-off for the outdoor spigot, turn it clockwise fully, then open the spigot outside to drain remaining water. Stop DIY if the pipe or spigot body is cracked. This is listed as a easy recovery and usually takes about 15 min.

verifiedGuide Snapshot

Repair areaPlumbing
Estimated time15 min
DifficultyEasy
Stop conditions4

Last updated Jul 27, 2026. Review the stop conditions before continuing.

account_treeRecovery State

Current stateLeaking
Specific stateHandle Leak
Failed stepWorn Packing Washer
Likely failure typeWorn Part
DIY boundaryDIY recovery first
paymentsCost decision

help1. Understand the Problem

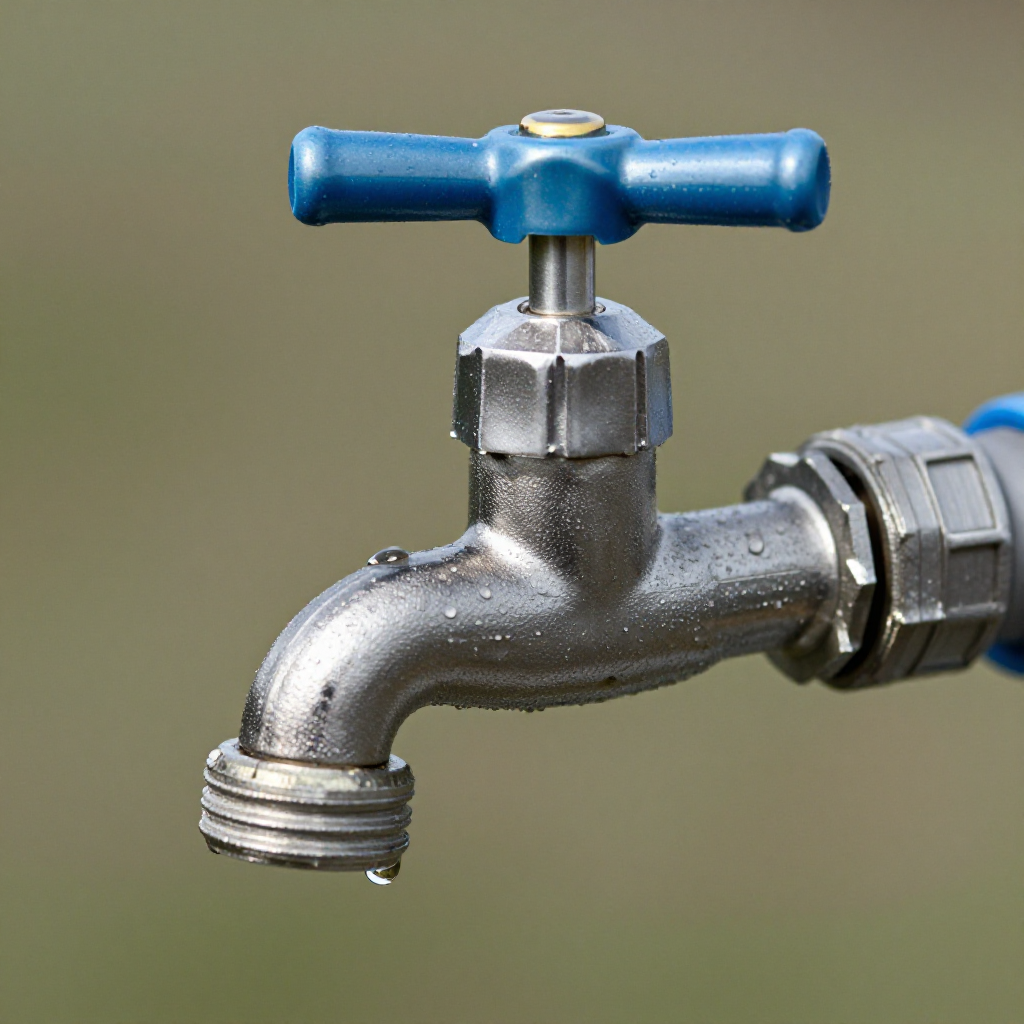
An outdoor spigot that leaks from behind the handle, especially when turned on, usually indicates a worn packing washer or loose packing nut. The packing material compresses over time and can crack or shrink, allowing water to escape around the valve stem. This leak often worsens with temperature changes and can waste hundreds of gallons. A simple repacking or tightening often solves it.

build_circle2. Try This First
Best First Step
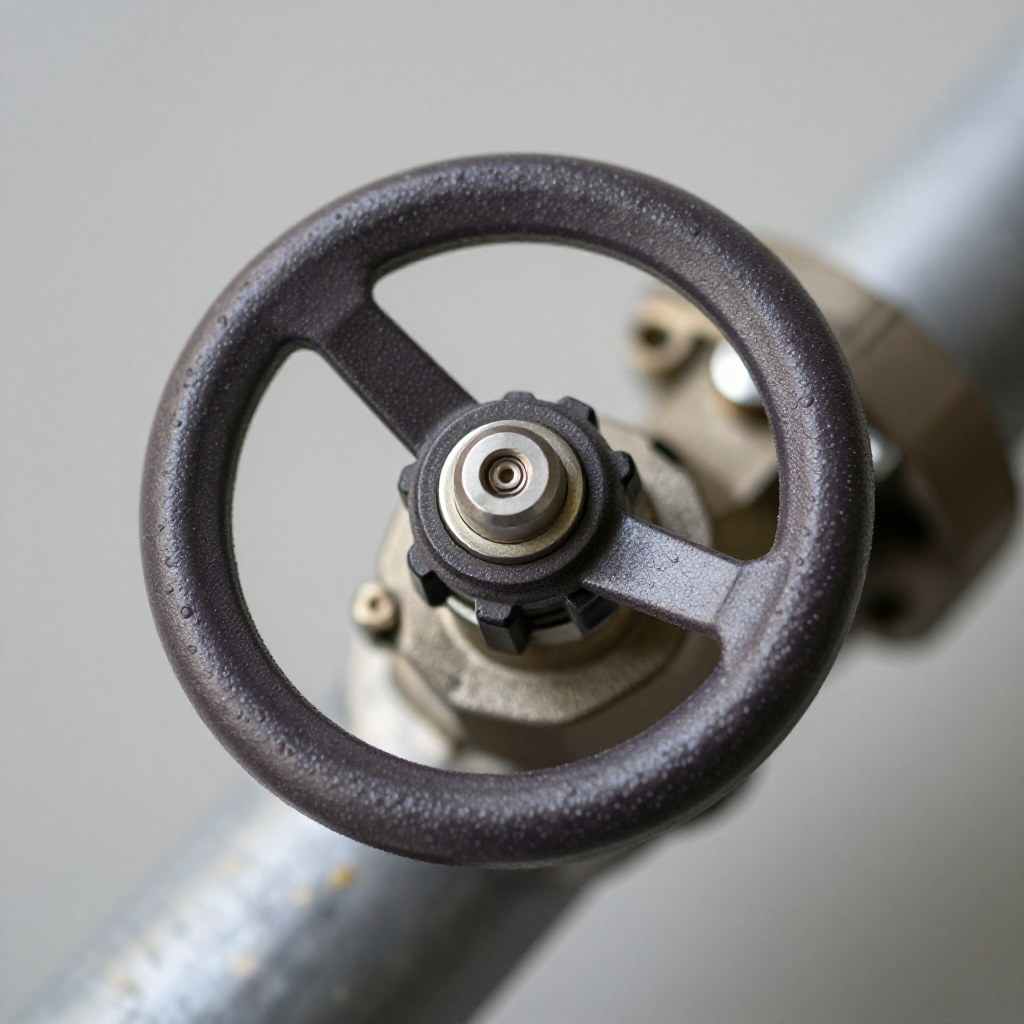
Shut off water and drain the spigot

Shut off water and drain the spigot

Locate the indoor shut-off for the outdoor spigot, turn it clockwise fully, then open the spigot outside to drain remaining water.

visibility3. Visual Guidance

See what's happening and how to try the first recovery step.
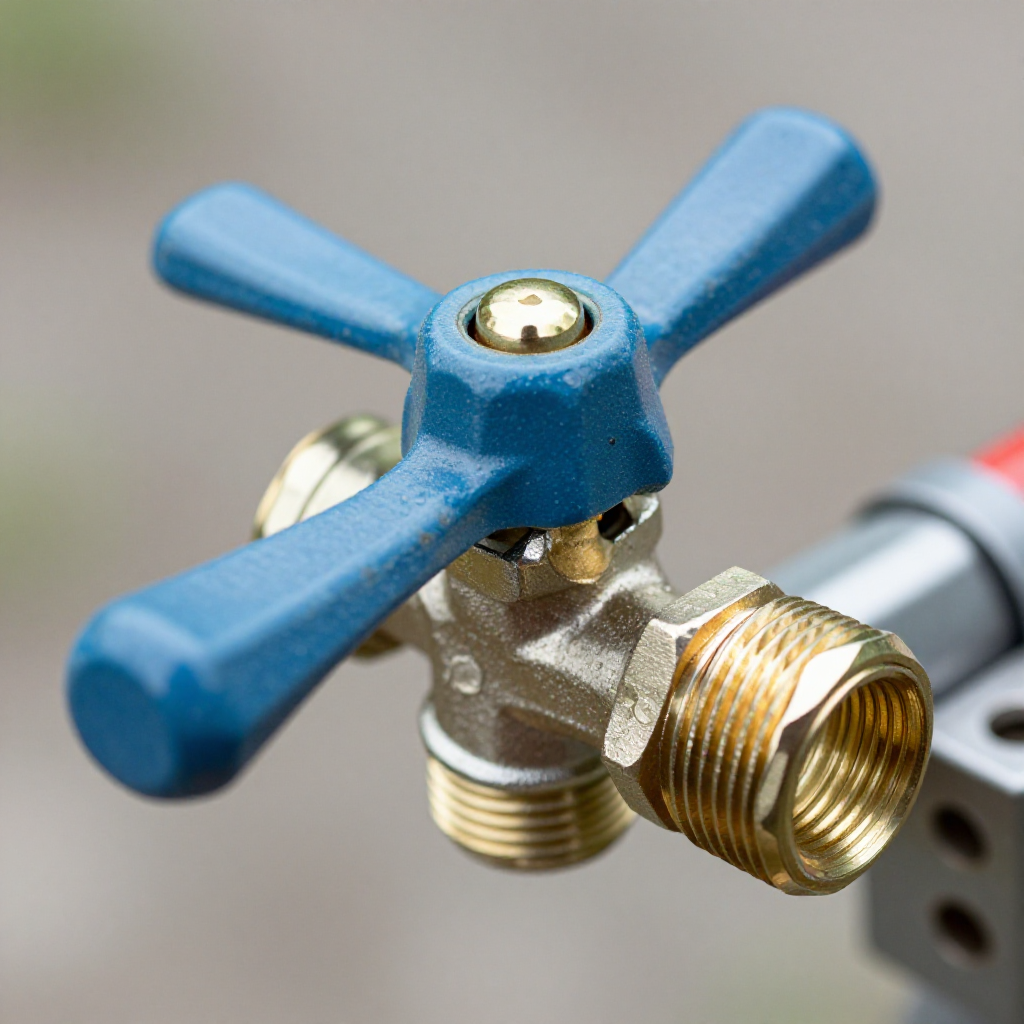
1
Remove the handle
Remove the handleUnscrew the handle screw with a Phillips screwdriver and pull the handle straight off to expose the packing nut.
2
Unscrew the packing nut
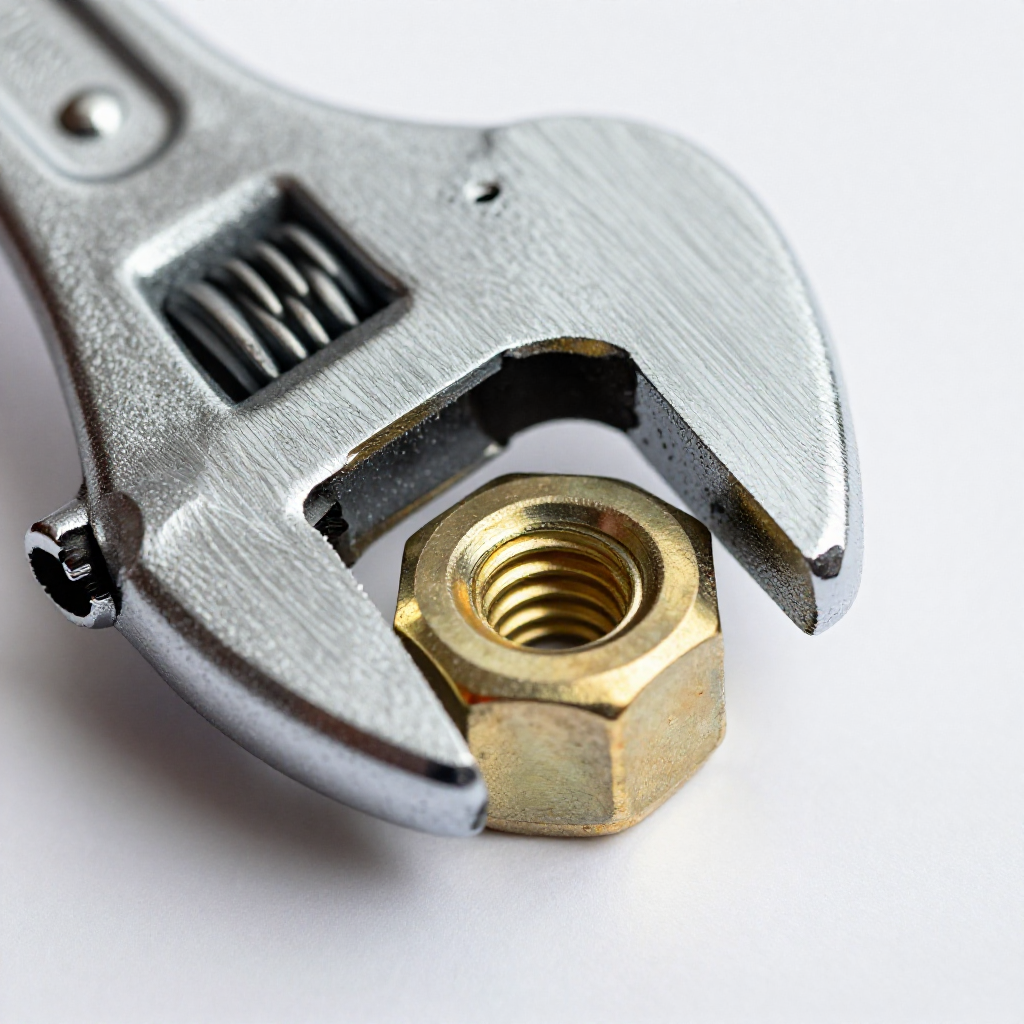
Unscrew the packing nutUse an adjustable wrench to loosen and remove the packing nut. Slide it up the valve stem.
3
Replace the packing washer
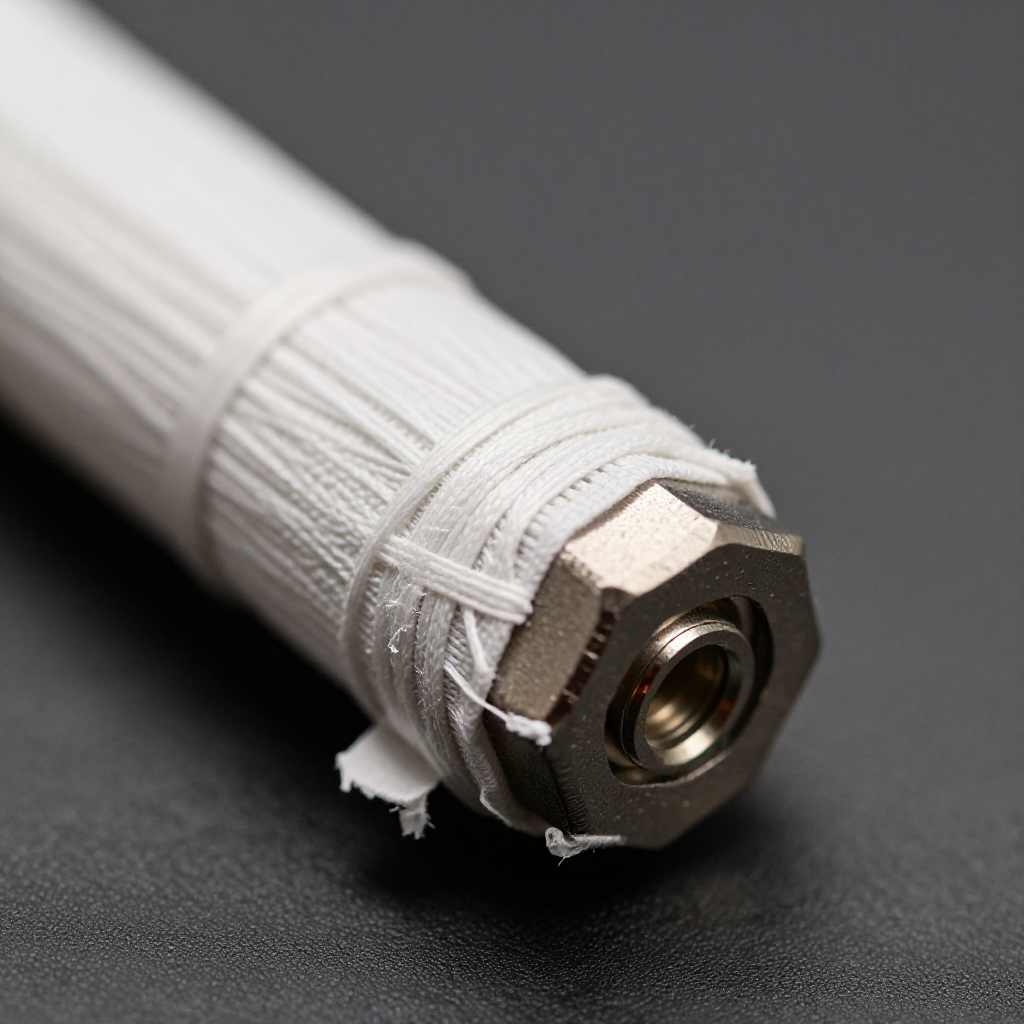
Replace the packing washerPick out the old packing washer or string from around the stem. Wrap new graphite-impregnated packing string clockwise around the stem 3-4 turns.
4
Reassemble and test
Reassemble and testTighten the packing nut back down until snug, remount the handle, turn water on and check for leaks.

autorenew4. If That Doesn't Work

Try the next recovery options.

Tighten the packing nut onlyWith water off, gently tighten the packing nut a quarter turn and test. Often enough to stop a slow drip.
chevron_right

Frequently Asked Questions

Why does it only leak when I turn the water on?expand_more
Pressure inside the spigot pushes water past the worn packing only when the valve is open. When off, the seat washer may still hold.
Can I use Teflon tape instead of packing string?expand_more
No. Teflon tape is for threads; packing string is designed to compress around a valve stem. Graphite string is best.
What if the leak continues after tightening and repacking?expand_more
The valve stem may be scored or the packing nut threads stripped. You may need a new frost-free spigot assembly.
Do I need to turn off water to the entire house?expand_more
No, only the shut-off serving that spigot. In a basement or crawl space, you'll usually find a dedicated valve.

warning5. Stop DIY If

Don't continue if any of these apply.

reportThe pipe or spigot body is cracked
reportWater leaks inside the wall when the spigot is off
reportThe shut-off valve doesn't work and you can't isolate the line
reportPacking nut or stem threads are severely corroded or stripped
Still stuck?Get personalized help with AI Recovery.

Similar Failure Pattern

This page provides general DIY guidance.
If you're unsure, it's always best to consult a professional.